Hello! Thanks everyone for coming! I am Hidde.
Slide 1
Slide 2

I work for the W3C, at the Web Accessibility Initiative. Among other things, we make standards for accessibility that are adopted by governments and organisations worldwide and have lots of guidance about those standards.
Slide 3
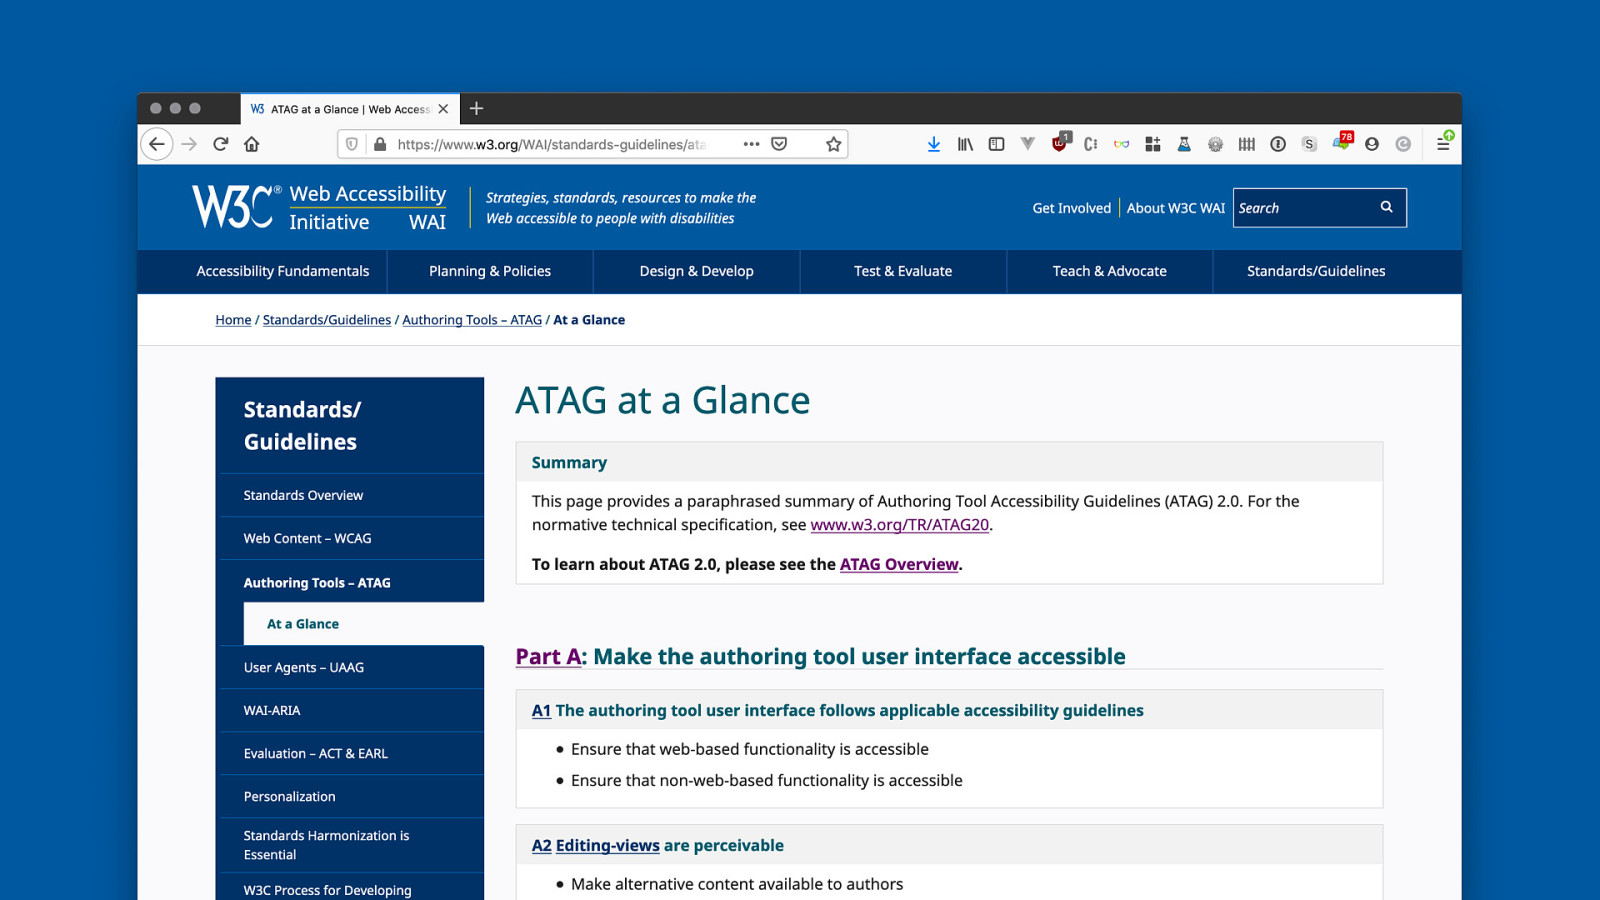
I specialise specifically in the accessibility of tools that make web content: content management systems like WordPress, Drupal and Typo3, site creators like Wix and Squarespace, WYSWIYG editors… anything that creates web content needs to have accessibility considered. There is a spec for that too… if you want more info on that, talk to me later. Oh, and I also brought some WAI stickers.
Slide 4
But lets get to it: 6 ways to make your site more accessible. Before I joined the W3C, I used to work primarily as a front-end developer, so a lot of these things are from a front-end development perspective and can get technical at times, please bear with me.
Slide 5
My first tip is about exposing names.
Slide 6
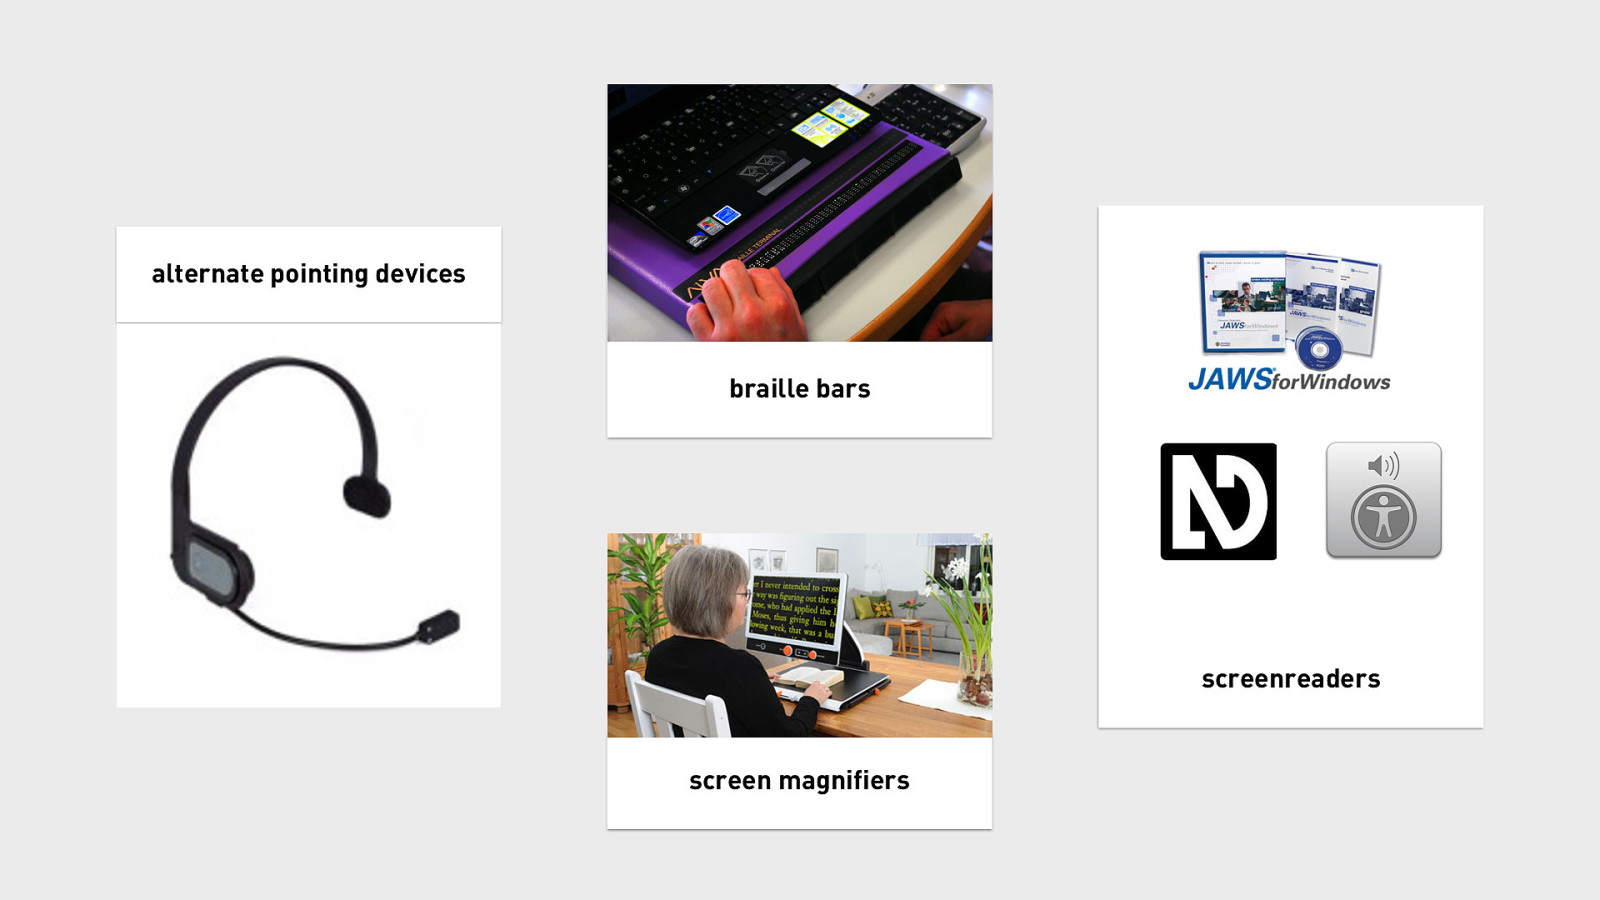
This is specifically important for users of assistive technologies, tools that sit in between people and their screens, to make sure they can experience in a way that works for them.
Examples: alternate pointing devices braille bars screenreaders screen magnifiers
Slide 7
If we want to optimise for AT, we need to think about our markup. Let’s say someone goes to your website. Just after they type in the URL and press enter, the browser is going to receive HTML or markup, and it will turn that into trees.
Slide 8
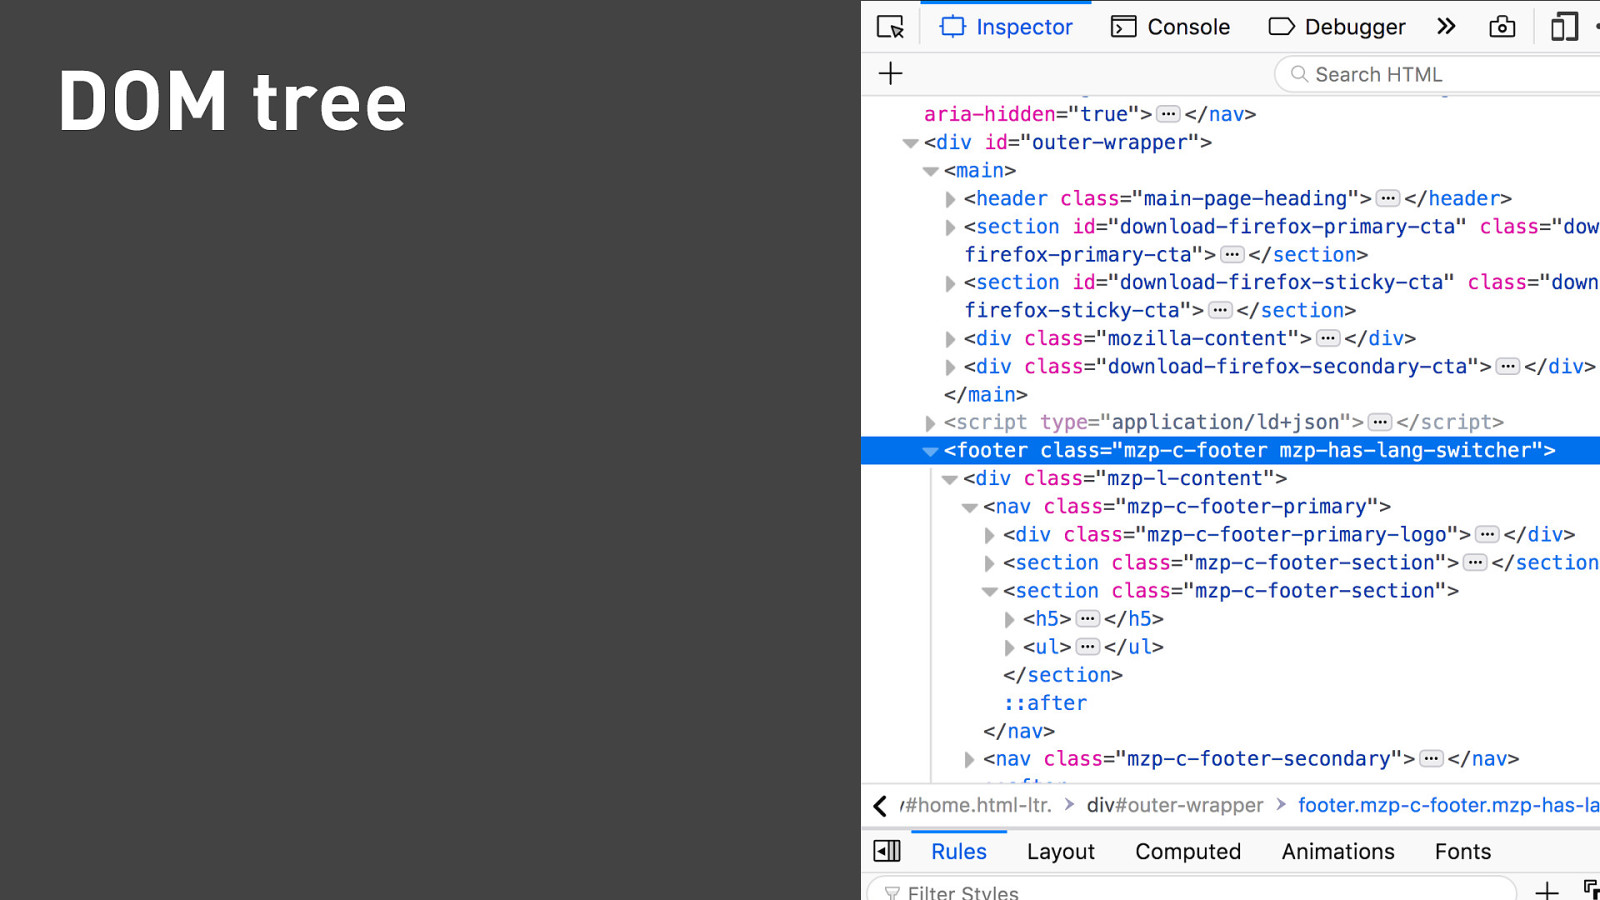
The one the developers here are probably familiar with is the DOM tree, it turns markup into objects, your tags into elements, that scripts can interact with.
Slide 9
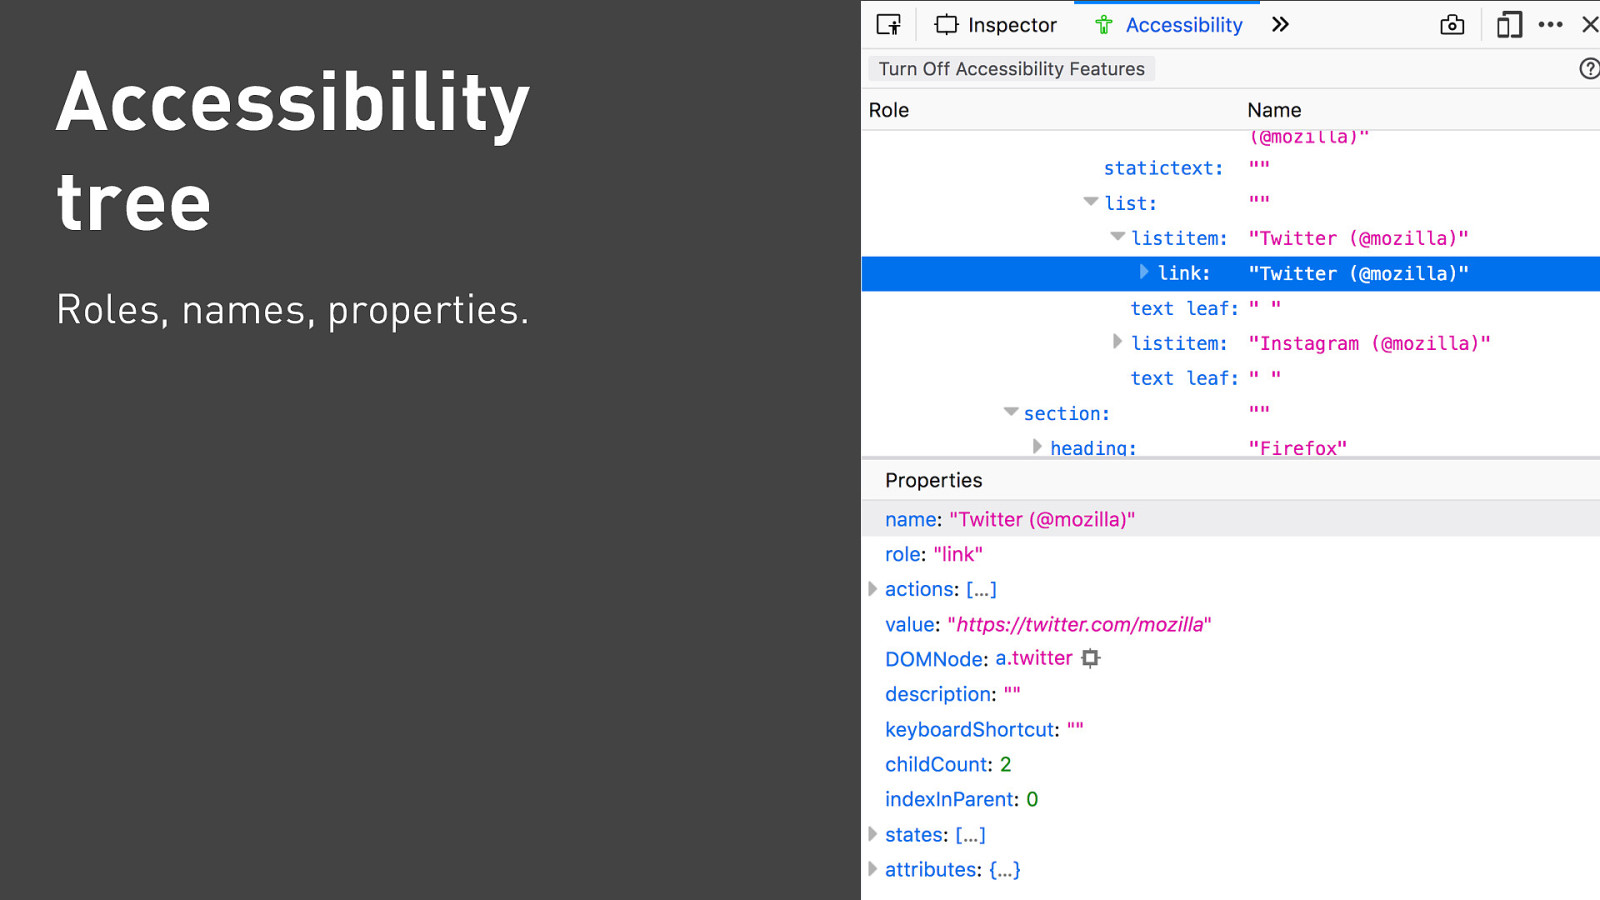
But there’s a second tree, super relevant to our interests. That’s the Accessibility Tree. It contains specifically the accessibility information, in roughly these three groups: roles, names, properties.
Slide 10
The way I like to explain this is… the accessibility tree is how your page gets exposed to assistive tech. Let me explain.
Slide 11
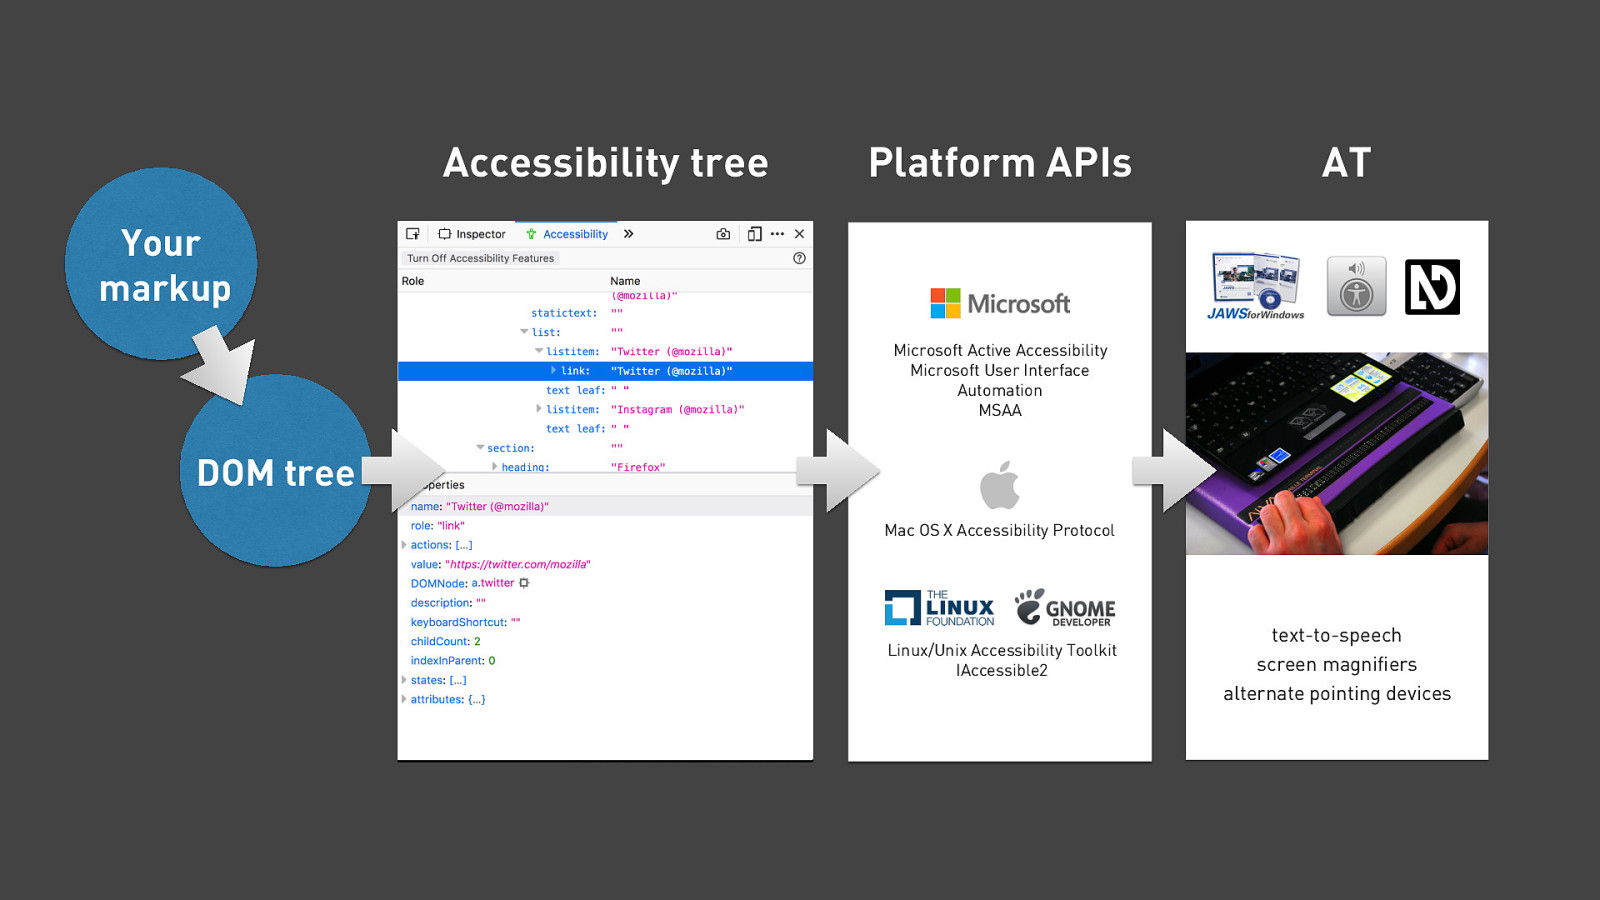
Basically, what AT do is convey to their users what’s happening on their screen. In order to do that, they need to know what’s going on on the screen. For this, they rely on platform-specific accessibility APIs, that basically know what everything is on your platform. the only thing they don’t know is what happens in your browser, as they’ve never seen your website. This is where the accessibility tree comes in.
Slide 12
These days, accessibility trees are available in all the major browsers.
Slide 13
Ok, so I said we would look at naming.
Slide 14
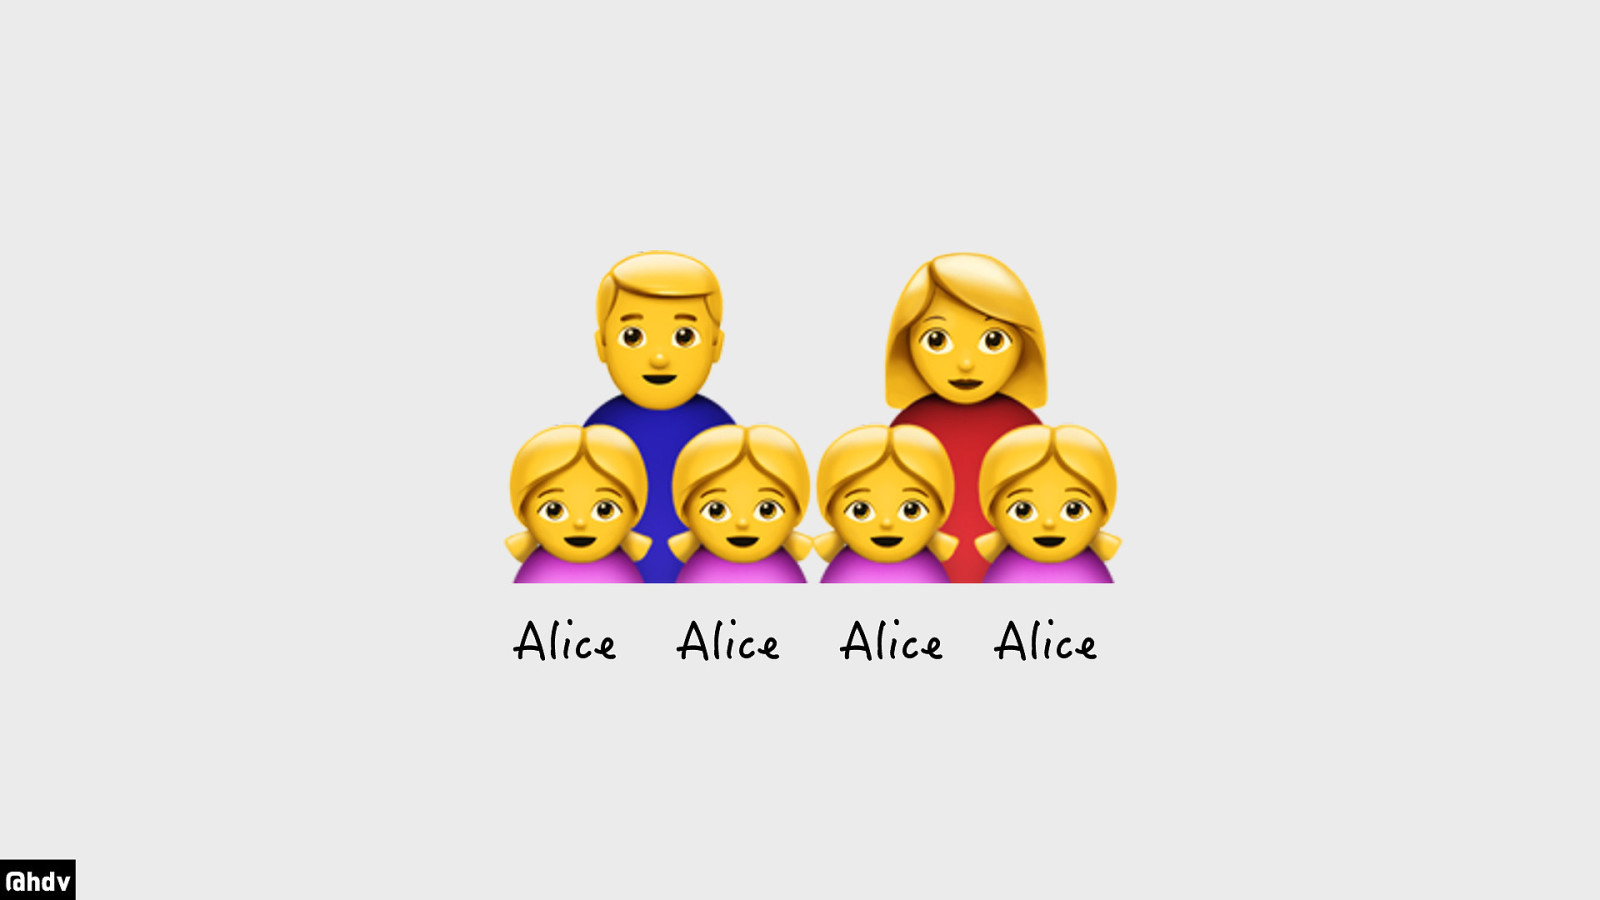
What if in your family, you had named your first child Alice? And your second one too? And your third, and the fourth? If ALL your kids are named Alice, you are guaranteed to run into lots of practical problems. If the head teacher from their school calls because Alice has missed class, you’ll not know who you need to talk to.
Slide 15
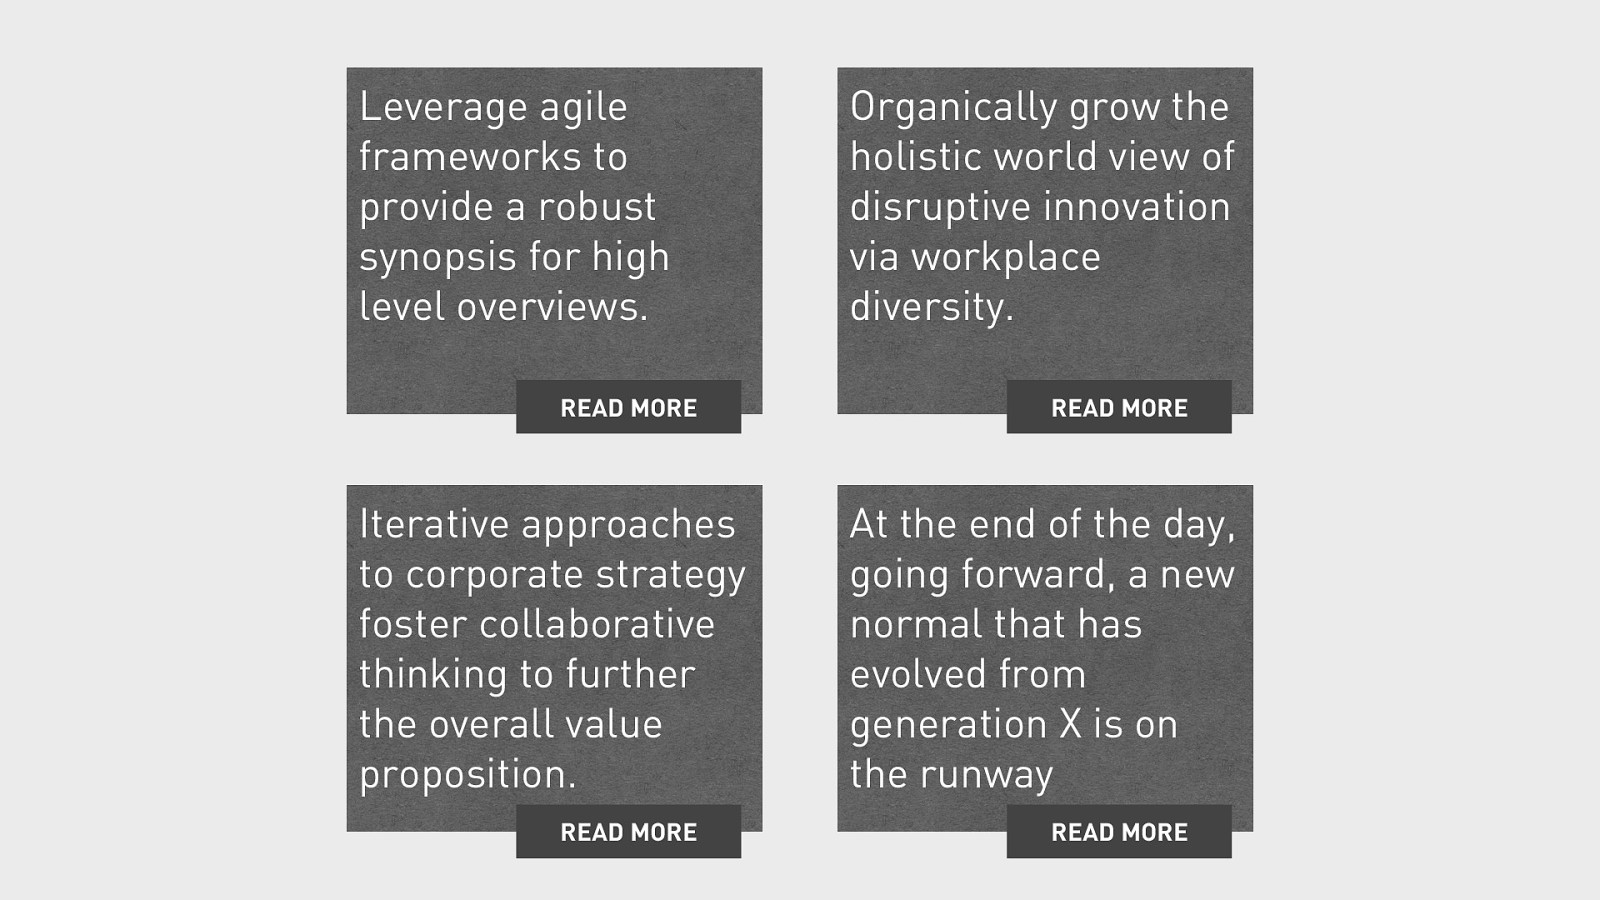
Yet we do this on the web a lot. Lots of websites feature news articles with a Read More link under each of them. This is tricky for a user of assistive tech. Screen readers, for instance, have a feature that lets people browse by link, which is commonly used. If a page has four links that are called Read More, there is no way to distinguish them, which is a real problem, because it blocks users of assistive tech from knowing where they’re going.
Slide 16
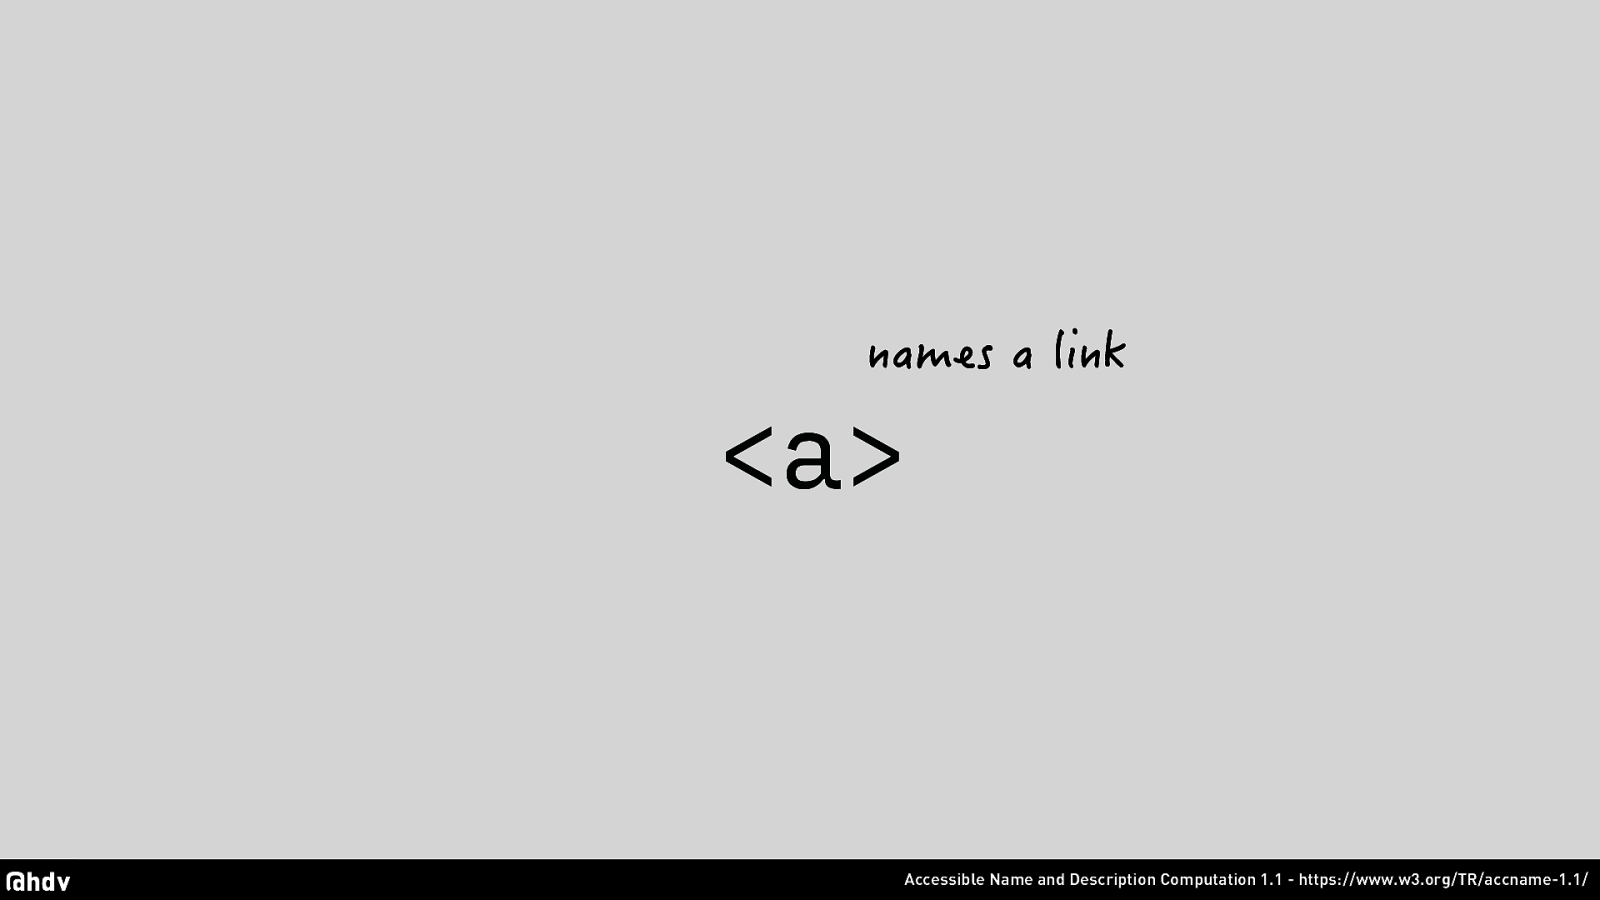
So, basically… the <a> tag names a link. How this works is… usually it will take whatever content is in between the opening and closing tag as the name. But there are exceptions, for instance if you have an image, it might take the alt attribute of that image. Or with aria-label you can override it all together. To get more specifics, check out the Accessible Names and Descriptions Computation specification, which has the heuristics specified.
Slide 17
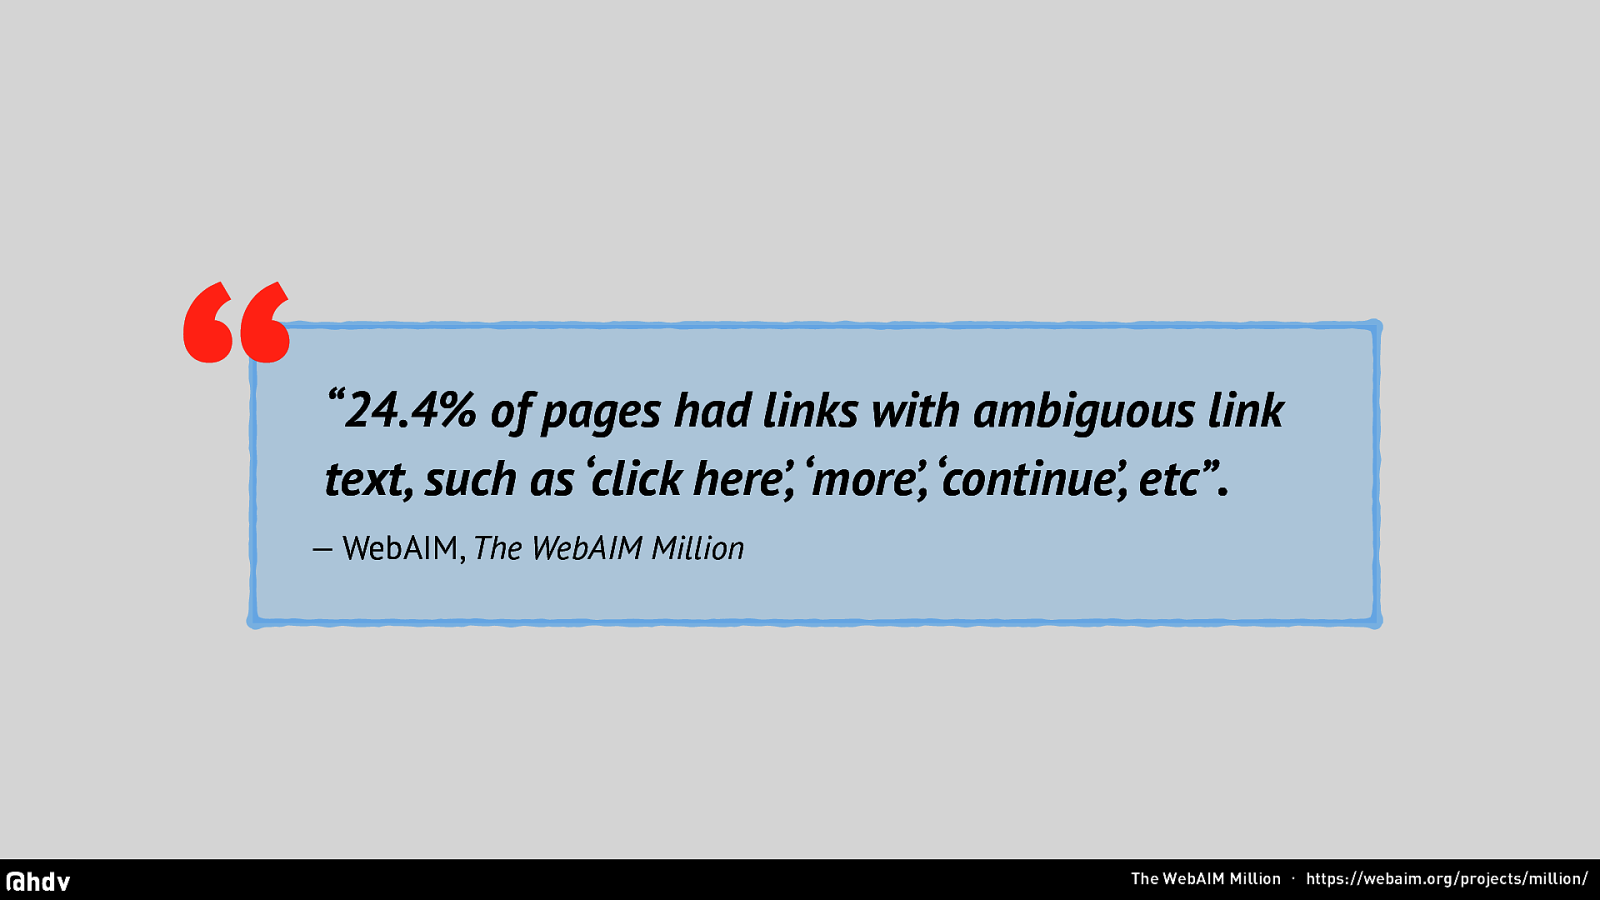
This is a real problem. WebAIM, a non profit from the US, looked at the top one million websites recently, and found that almost a quarter of them has ambiguous link texts like click here and read more.
Slide 18

So the tip here is: use unique link text that makes sense out of context. Or to be more specific, ensure that something unique computes as the accessible name.
Slide 19
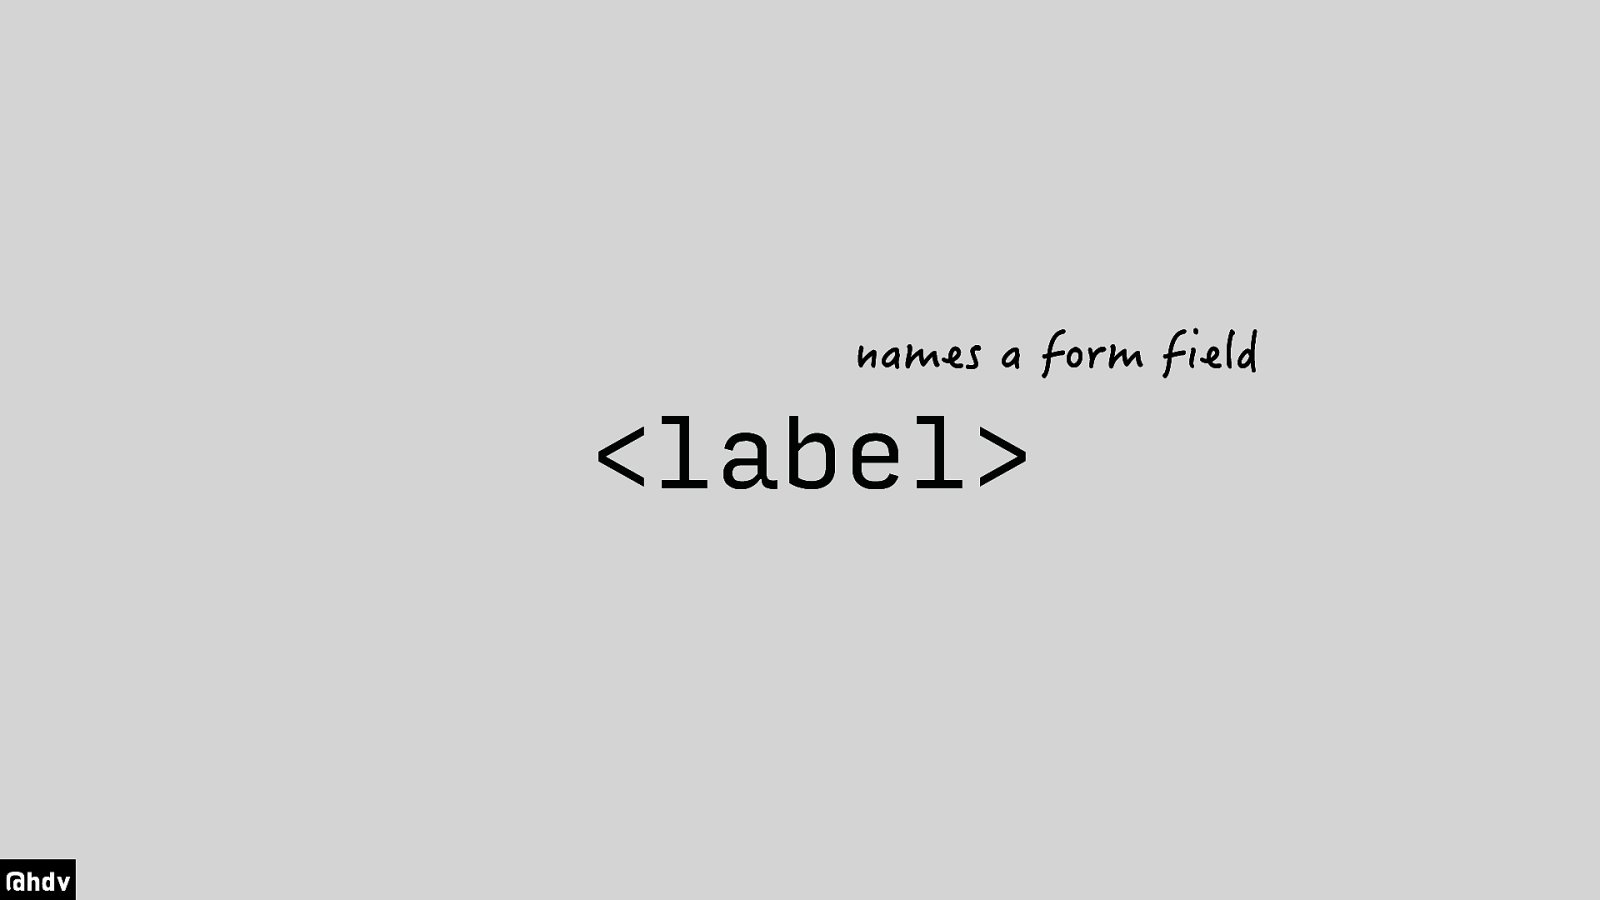
There are many other HTML elements that end up being a name for something in the accessibility tree. For instance, the label element names a form field.
Slide 20

Quoting again from WebAIM, 60% of form inputs weren’t properly labelled. So let’s look what makes a properly labeled field.
Slide 21
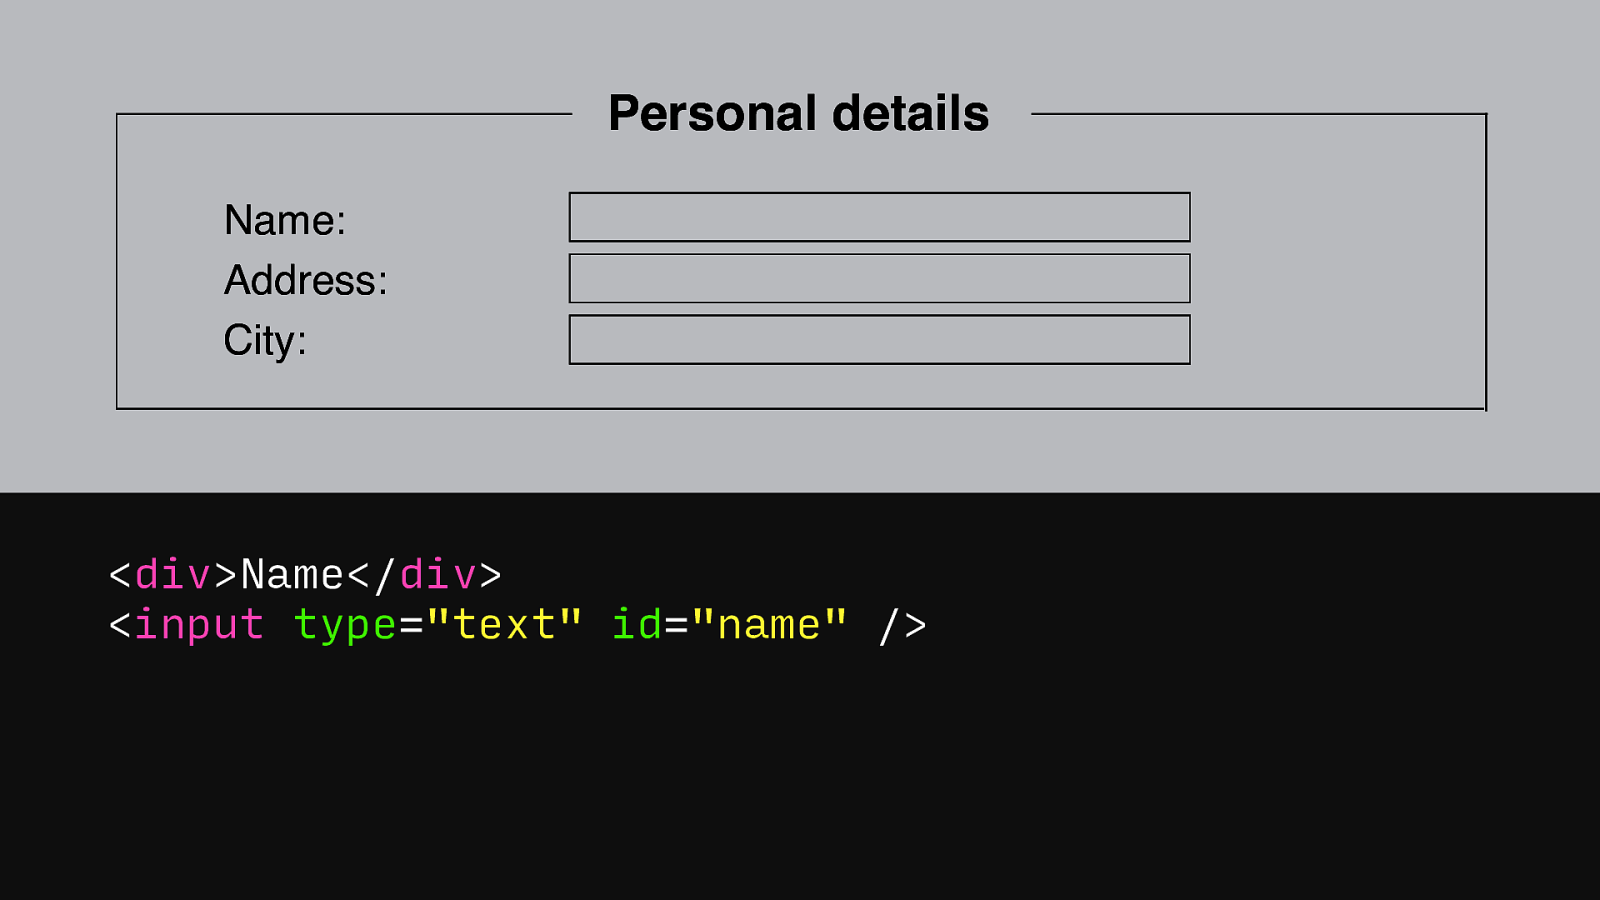
If there’s an input with just in front of it a DIV tag, that visually names the input. It works for people without disabilities, because they see the word name and the input and understand they’ll need to put in a name. But the big issue is, the name isn’t programmatically associated with the input. So in the accessibility tree, it isn’t going to have that name.
Slide 22
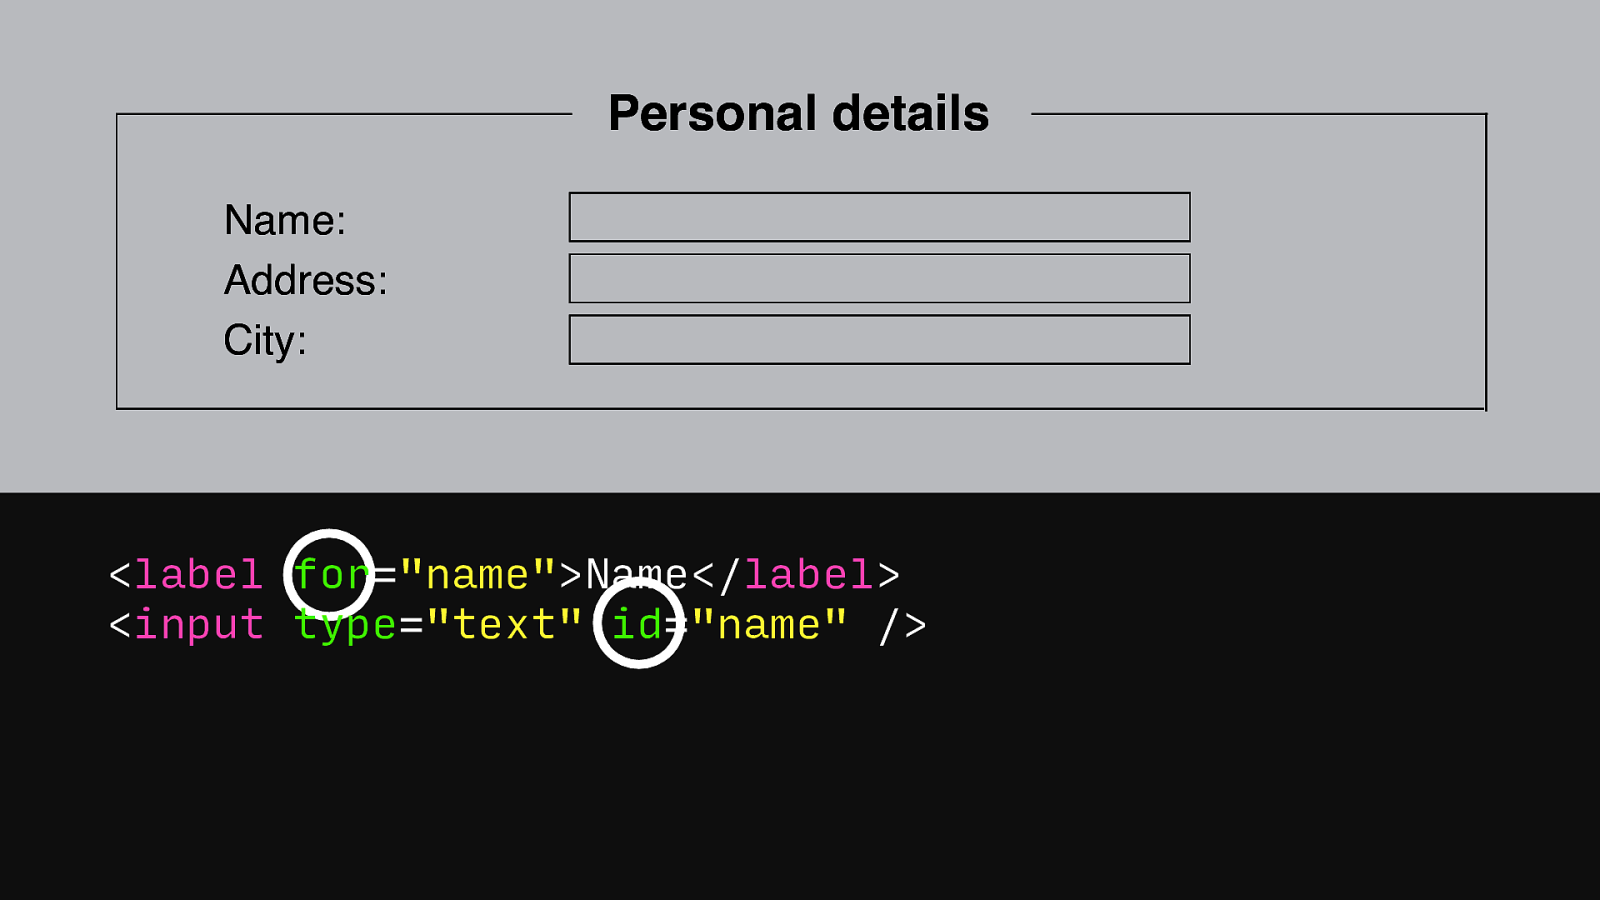
The way to do this properly is to use a LABEL tag and ensure that its for attribute is the same as the id attribute of the input.
Slide 23
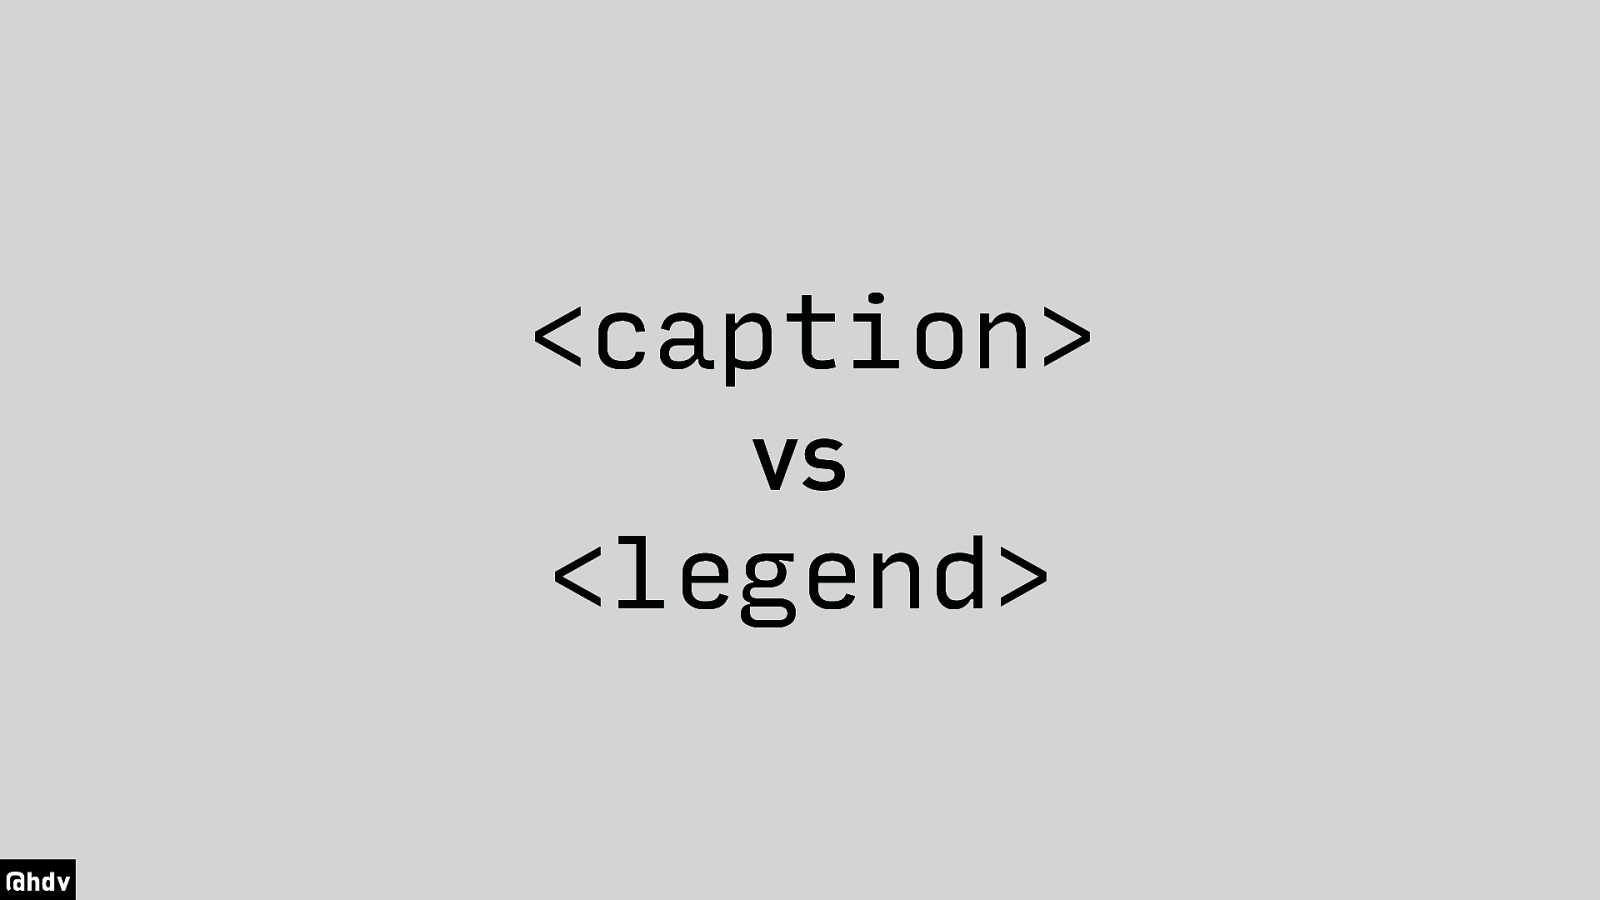
Other elements that name something on your page are CAPTION and LEGEND.
Slide 24
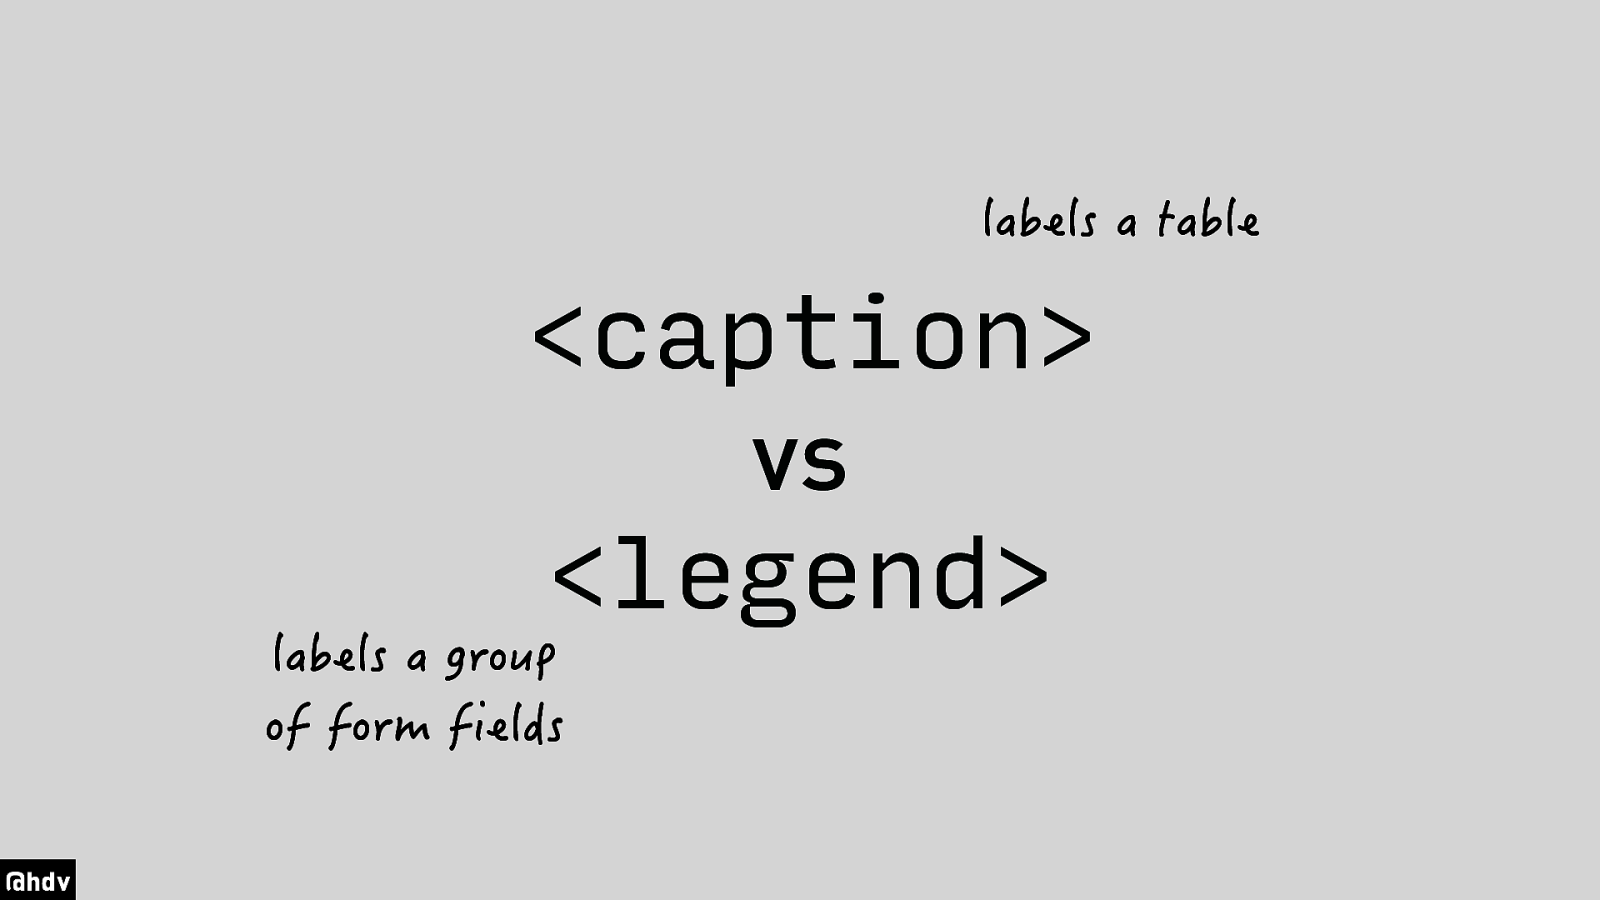
A CAPTION labels a table and a LEGEND labels a group of form fields.
Slide 25
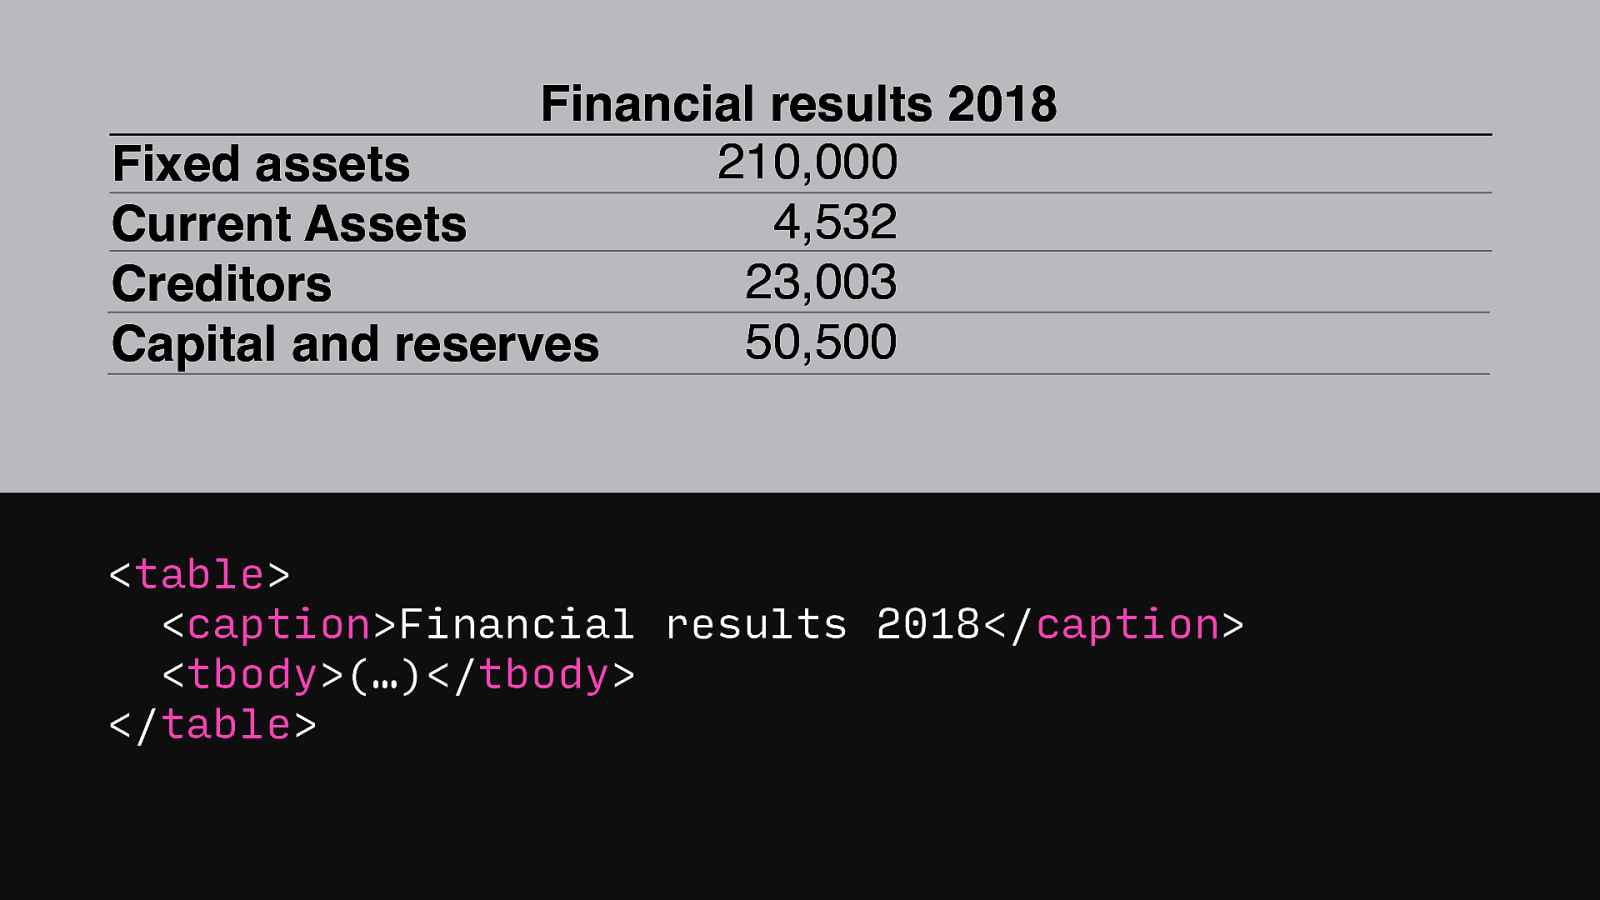
Say you’re coding a page that has financial results for the last three years, you want to make sure that they have unique names, so that someone with a screenreader can easily figure out if they are looking at the 2019 financial results or the 2018 financial results.
Slide 26
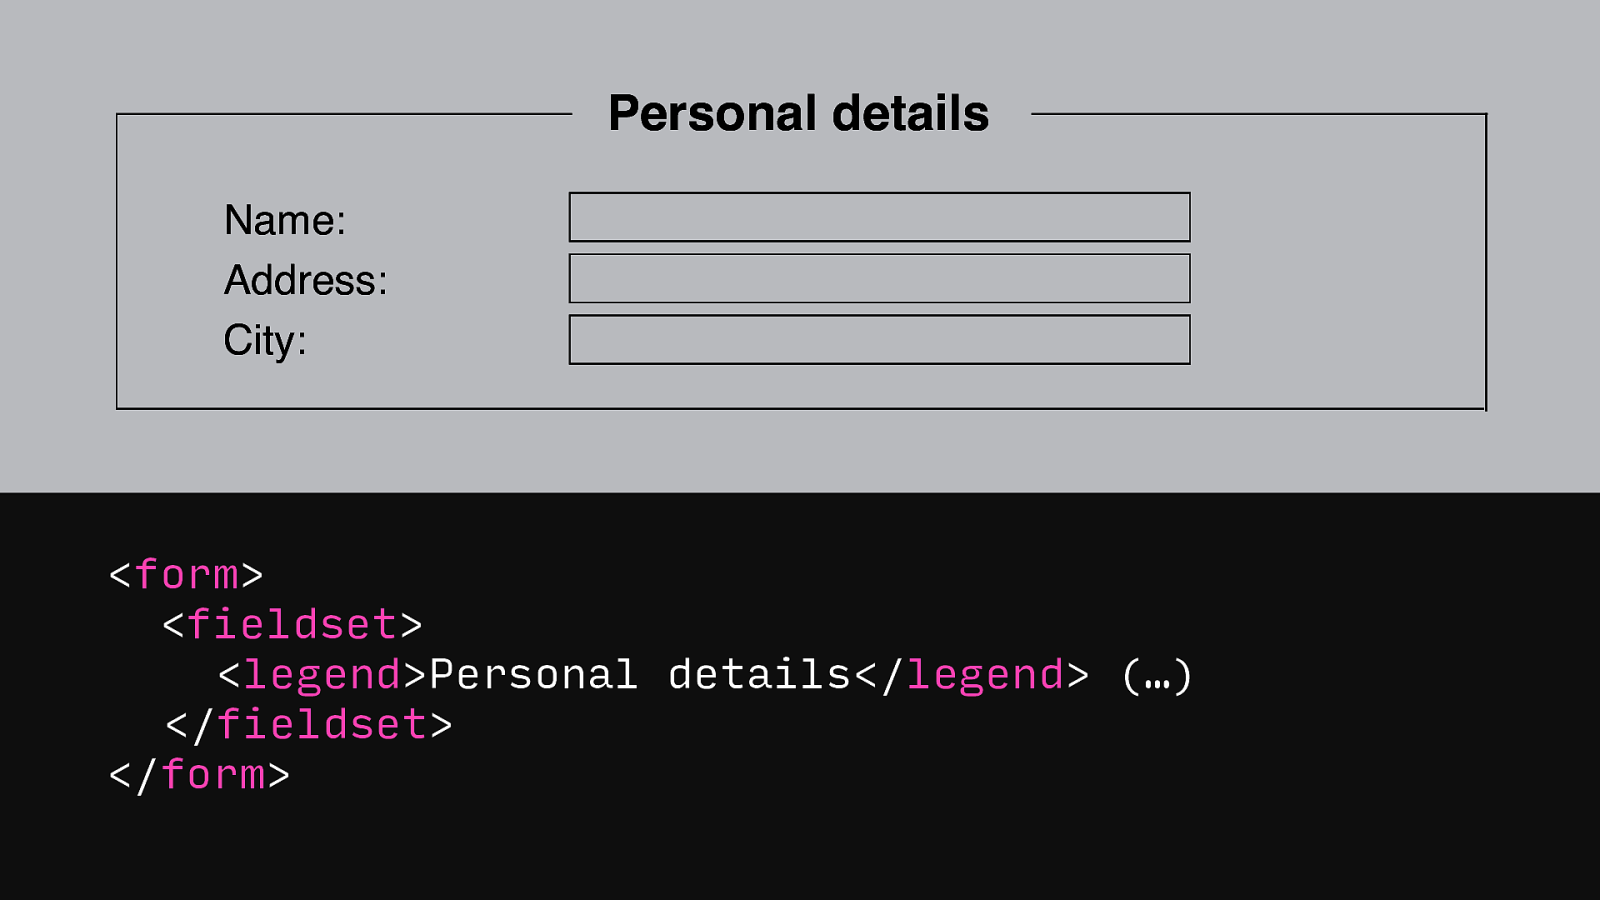
Similarly, for form fields, a legend helps you name a group of fields.
Slide 27
I think by now you won’t be surprised if I say that markup is really important for web accessibility. The next tip is to make good choices about which markup you use.
Slide 28
One of the most common accessibility mistakes is confusing A and BUTTON tags.
Slide 29
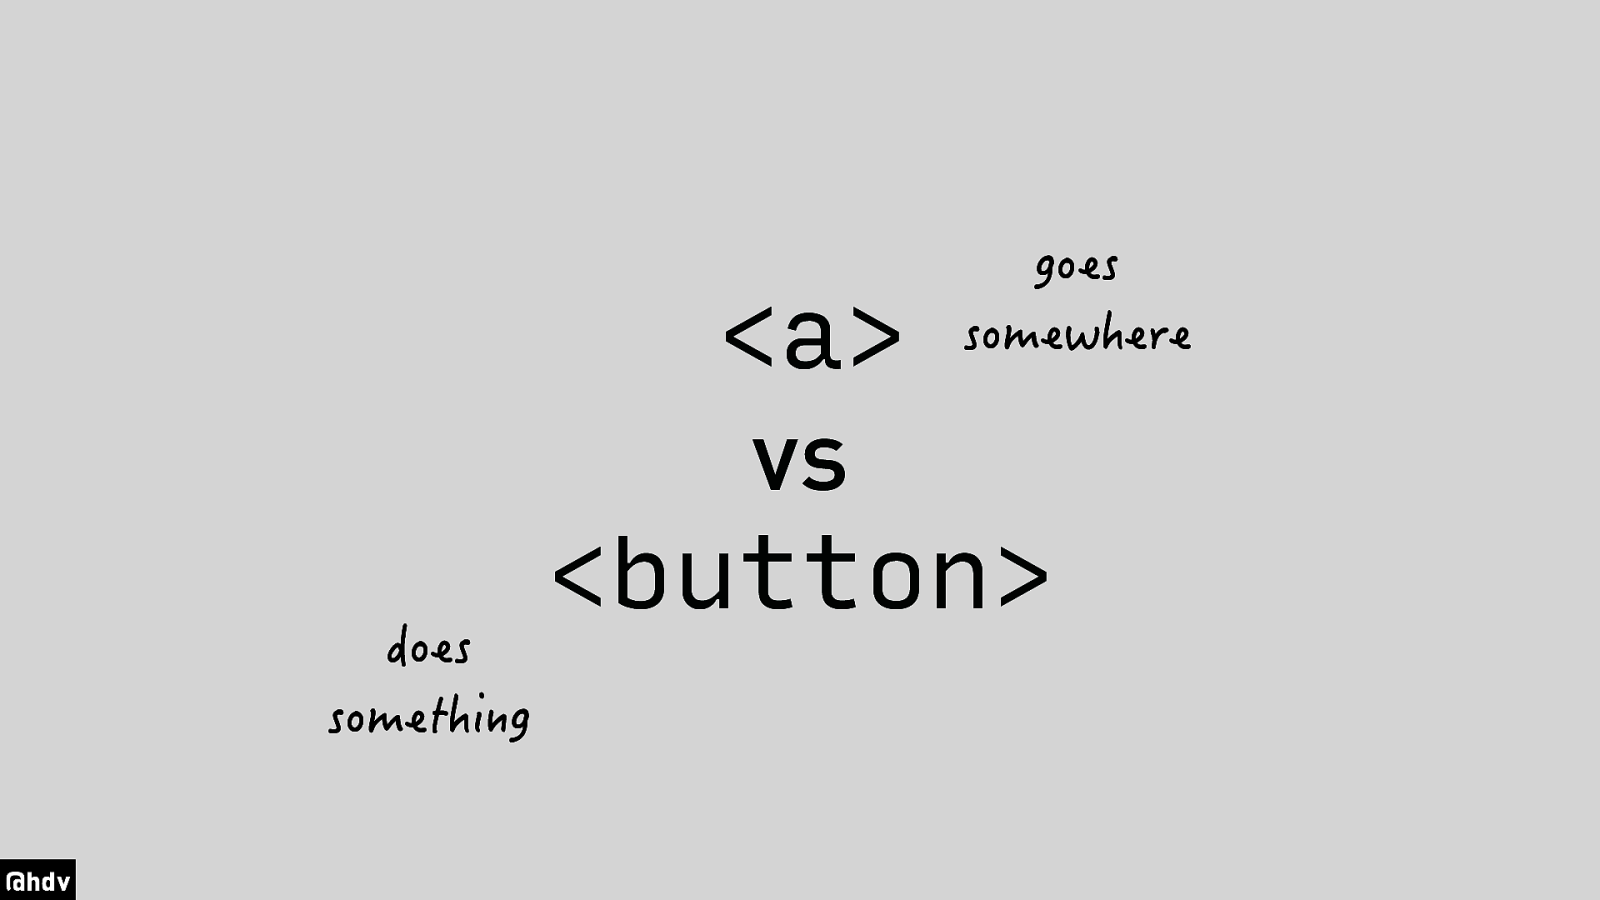
The big difference is that a link goes somewhere and a button does something. A quick check you can do when you’re building something, is… does this thing have a destination?
Slide 30
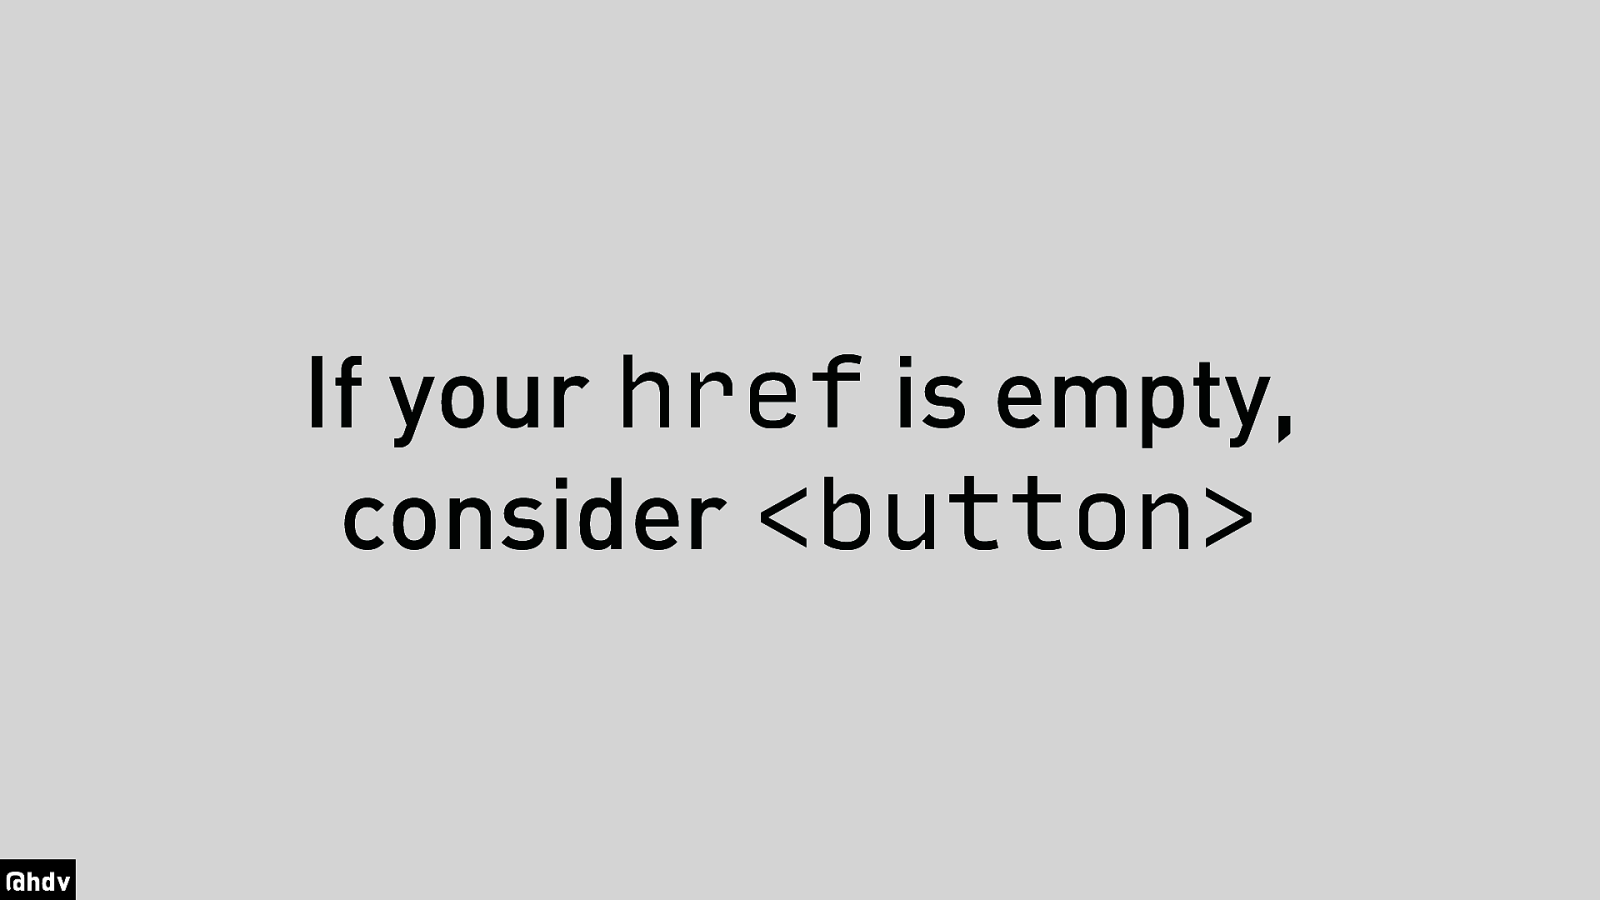
If not, if your href is empty, you should probably use a button element. It’s important to get this right, because there are many differences between how A and BUTTON work.
Slide 31
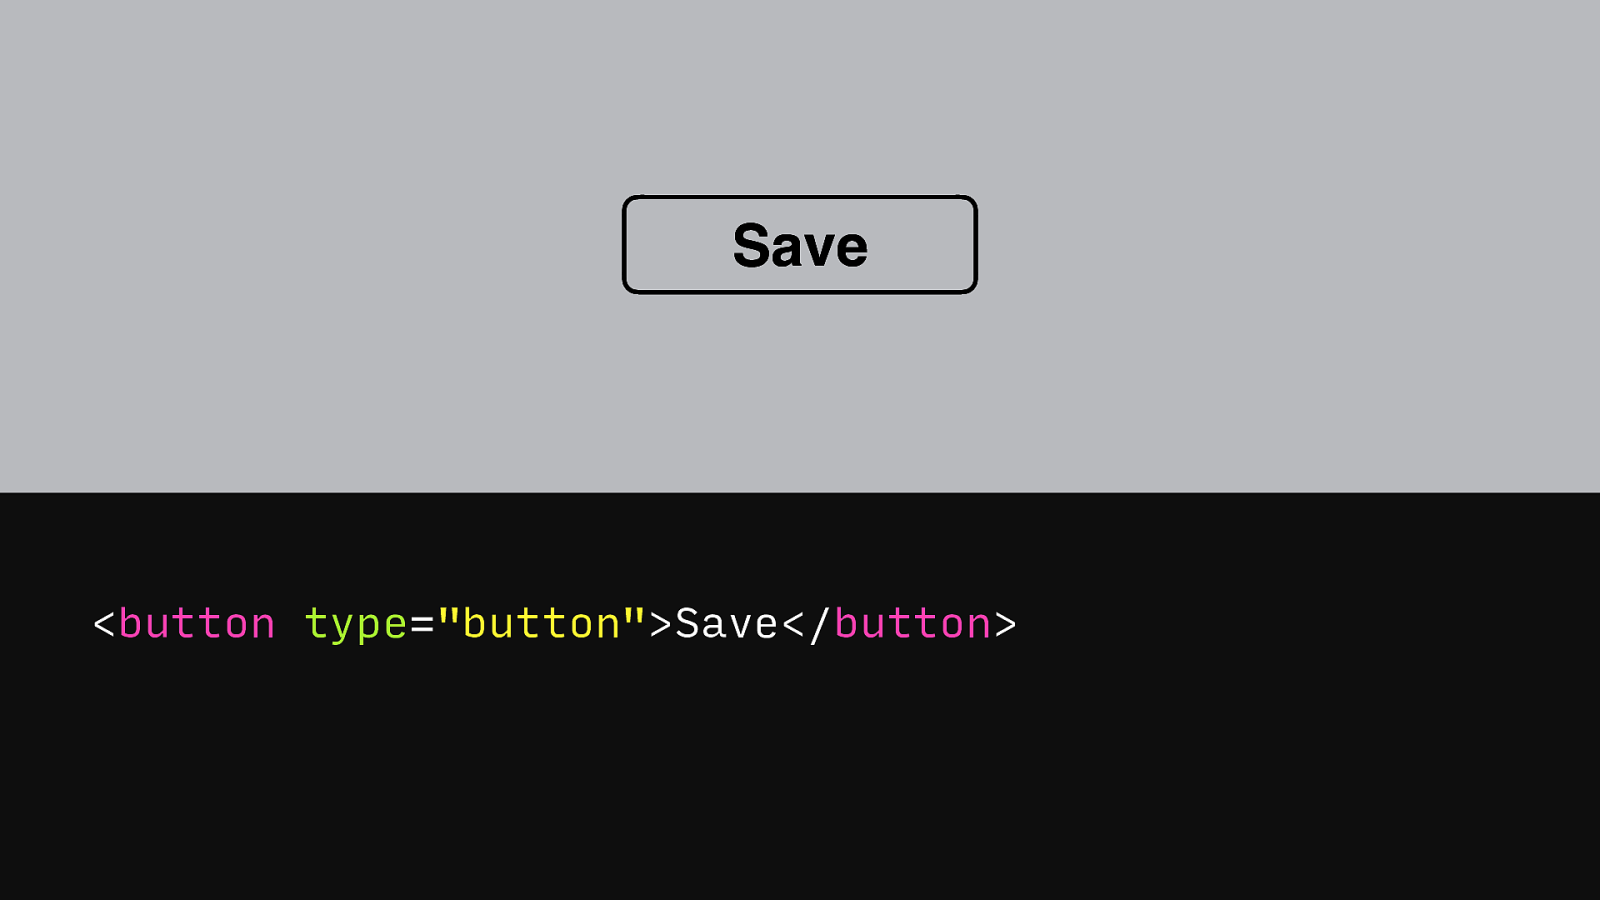
Let’s say you’re building a save button, that’s probably a button element.
Slide 32
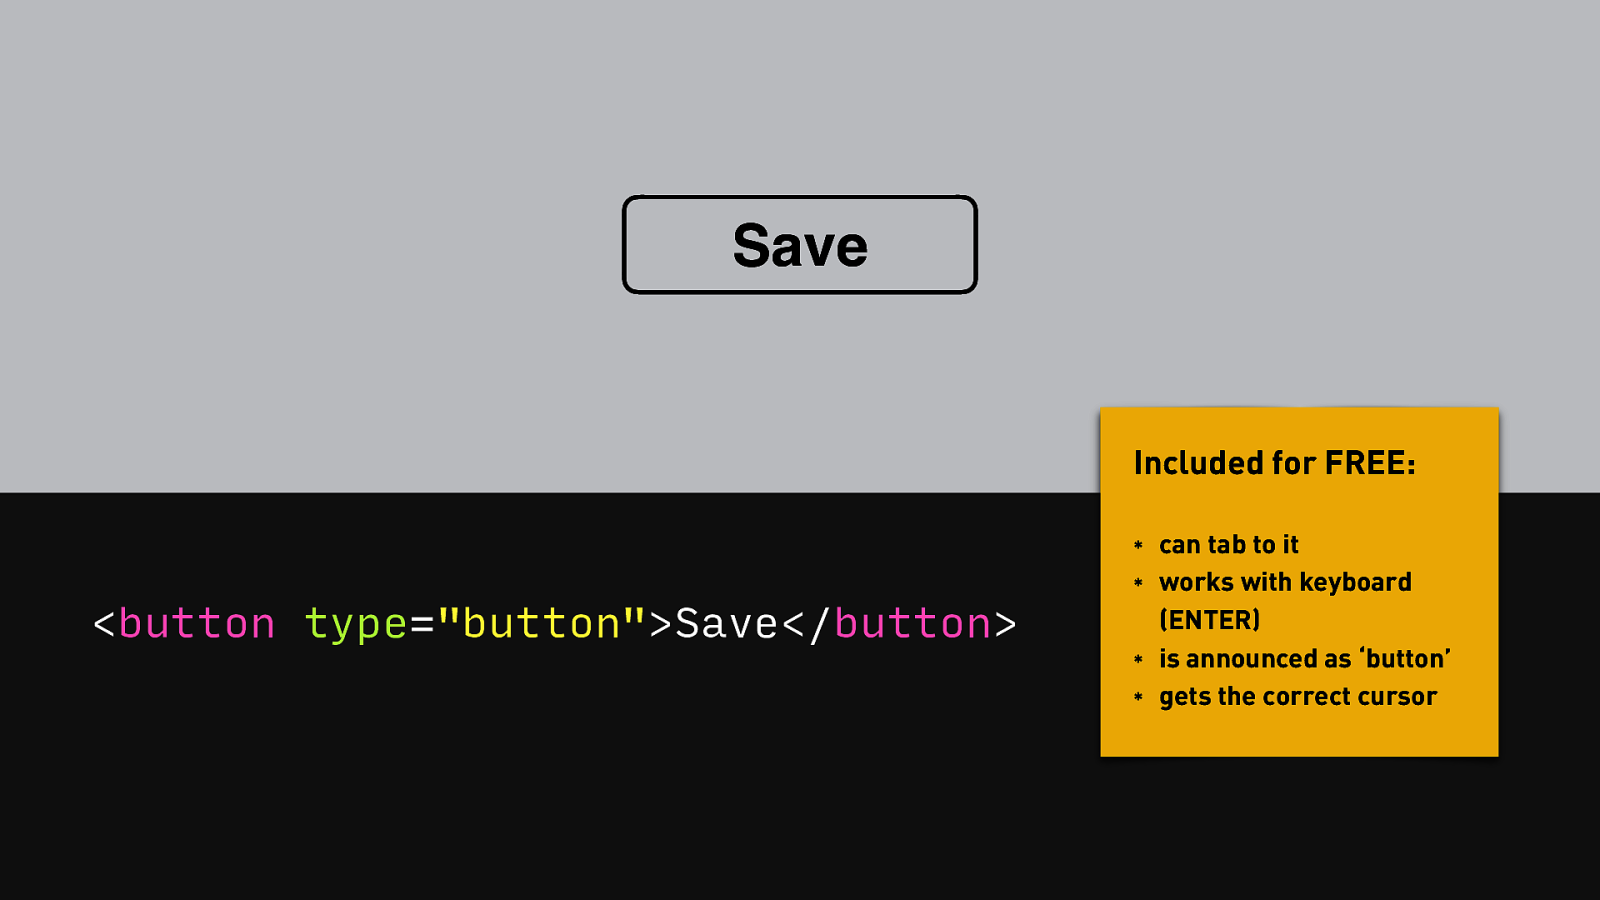
By using the button tag, you get for free that people can tab to it, it can be activated with a keyboard, it gets announced by screenreaders as a button and it gets the correct cursor too.
Slide 33
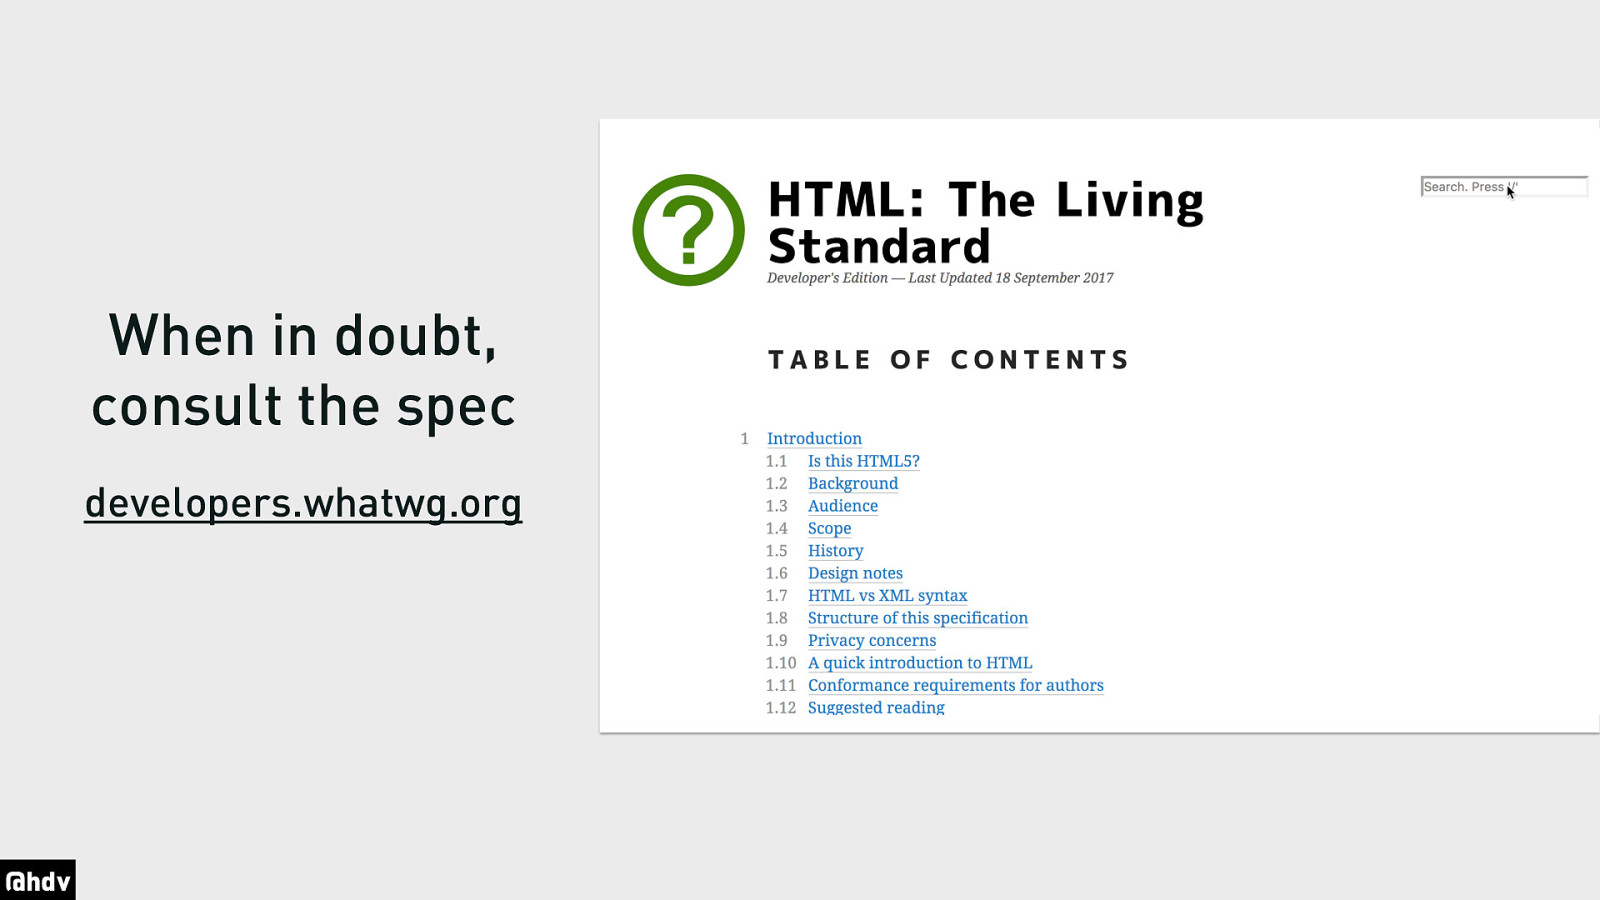
Sadly I don’t have time do discuss all the HTML elements today, I could go on for hours, but I’d recommend to check the spec. Particularly the developers version that WHATWG offer is useful, because it has all the technical stuff for browsers taken out, and has just the information for developers. All HTML elements are described, it says clearly what they are for, and has examples of how to use them “the right way”. I use this a lot, because frankly, it’s not easy to remember what the right way is for all these elements, so documentation helps.
Slide 34

Let’s look at structure now, another pillar of accessible user interfaces.
Slide 35
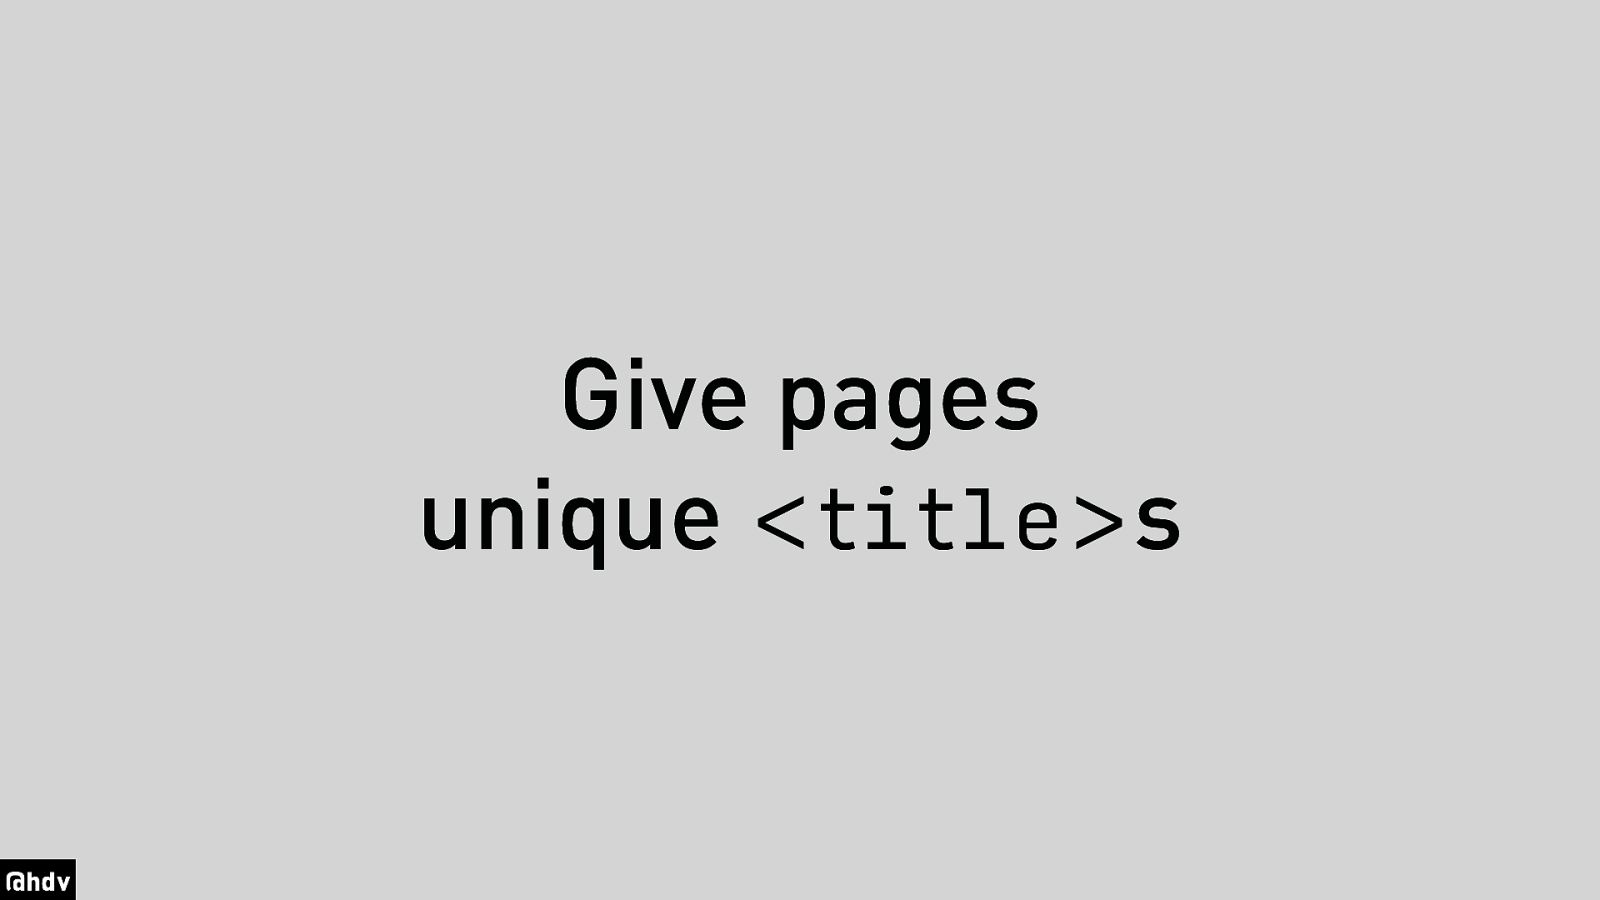
One way to provide structure is to think about the title of each page, and by title I mean the title element that sits in the header of your document.
Slide 36
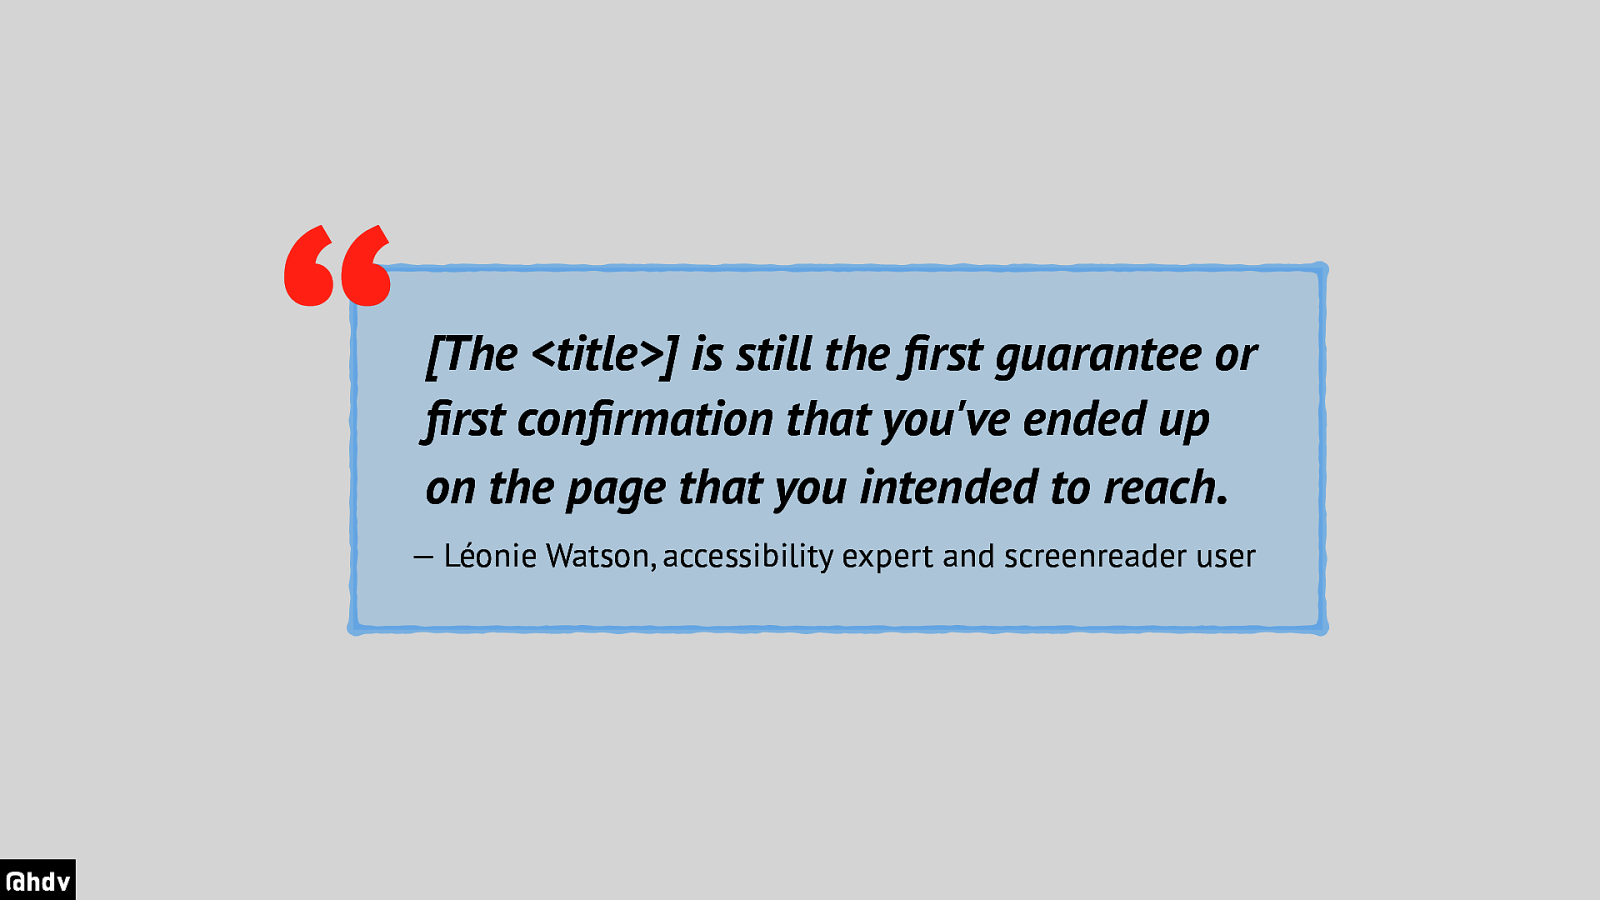
I was recently reminded of this again by accessibility expert and screenreader user Léonie Watson, who recorded a video for Smashing Magazine in which she showed how she browsers the web.
Quote: [The <title>] is still the first guarantee or first confirmation that you’ve ended up on the page that you intended to reach. — Léonie Watson, accessibility expert and screenreader user
Slide 37
Headings are also super helpful when it comes to structure. They are like a tables of contents for assistive tech.
Slide 38
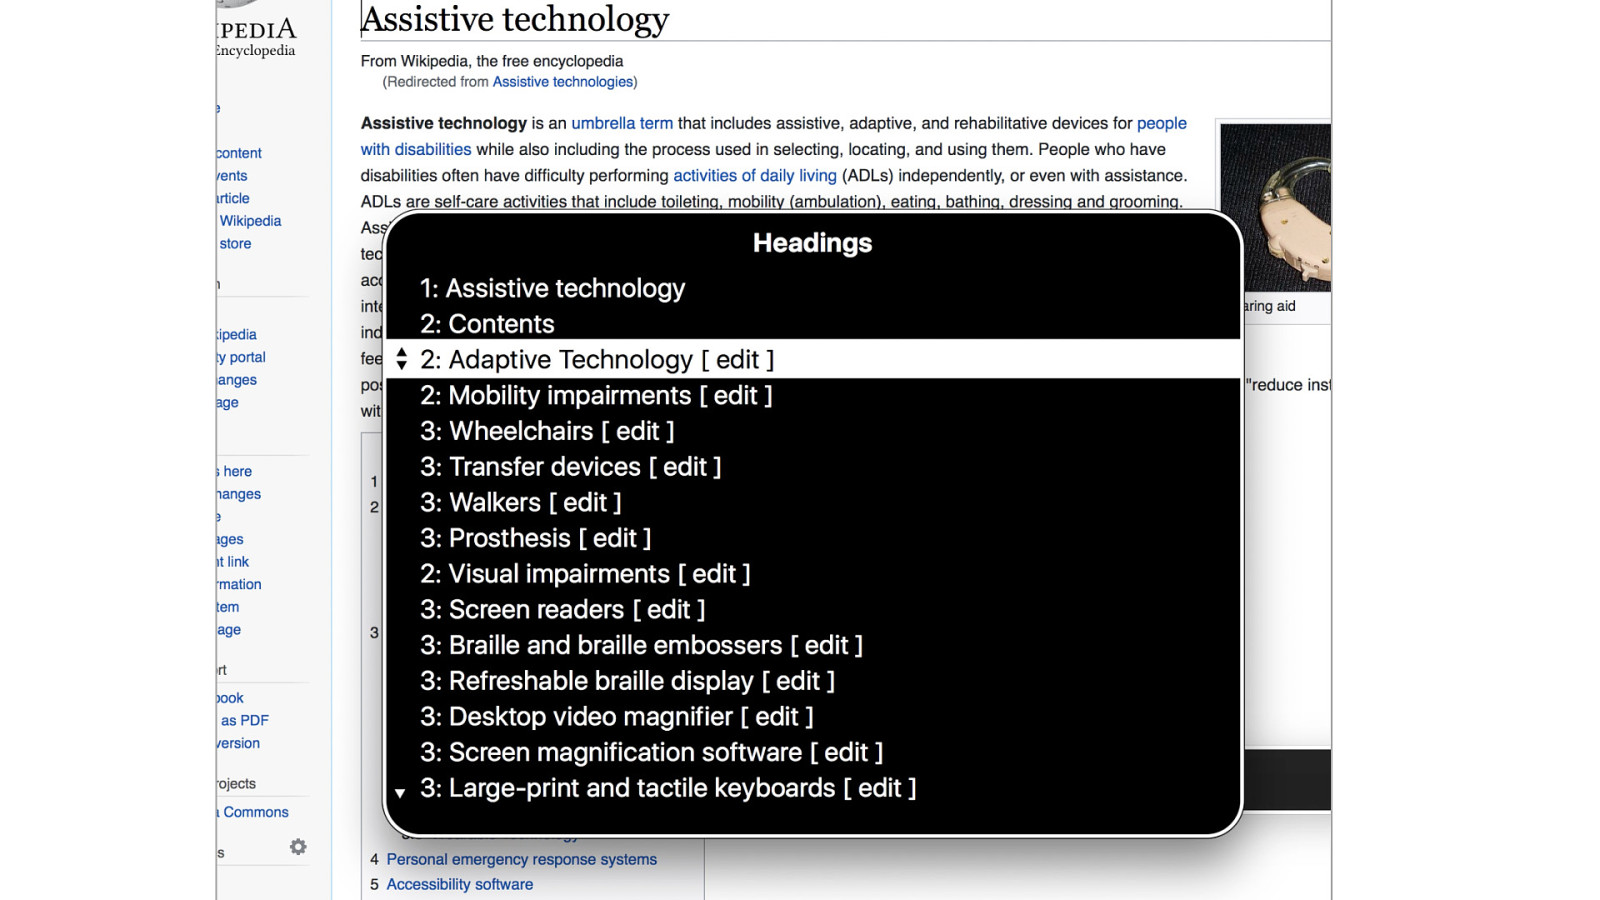
This is because screenreaders often come with shortcuts to get to the headings of a page. Screenreaders CAN read out a full web page to the users, but listening to all webpages always costs a lot of time. Therefoer they come with keyboard shortcuts to access just the headings. This is an example of VoiceOver on the Mac, used on the Wikipedia page of assistive technology.
Slide 39
A very general tip is to turn off your CSS and then verify if your page still makes sense. Without CSS there’s just structure, or lack of it, so it is a good way to find things that need improvement.
Slide 40
Ok, the fourth way to make your site more accessible.
Slide 41
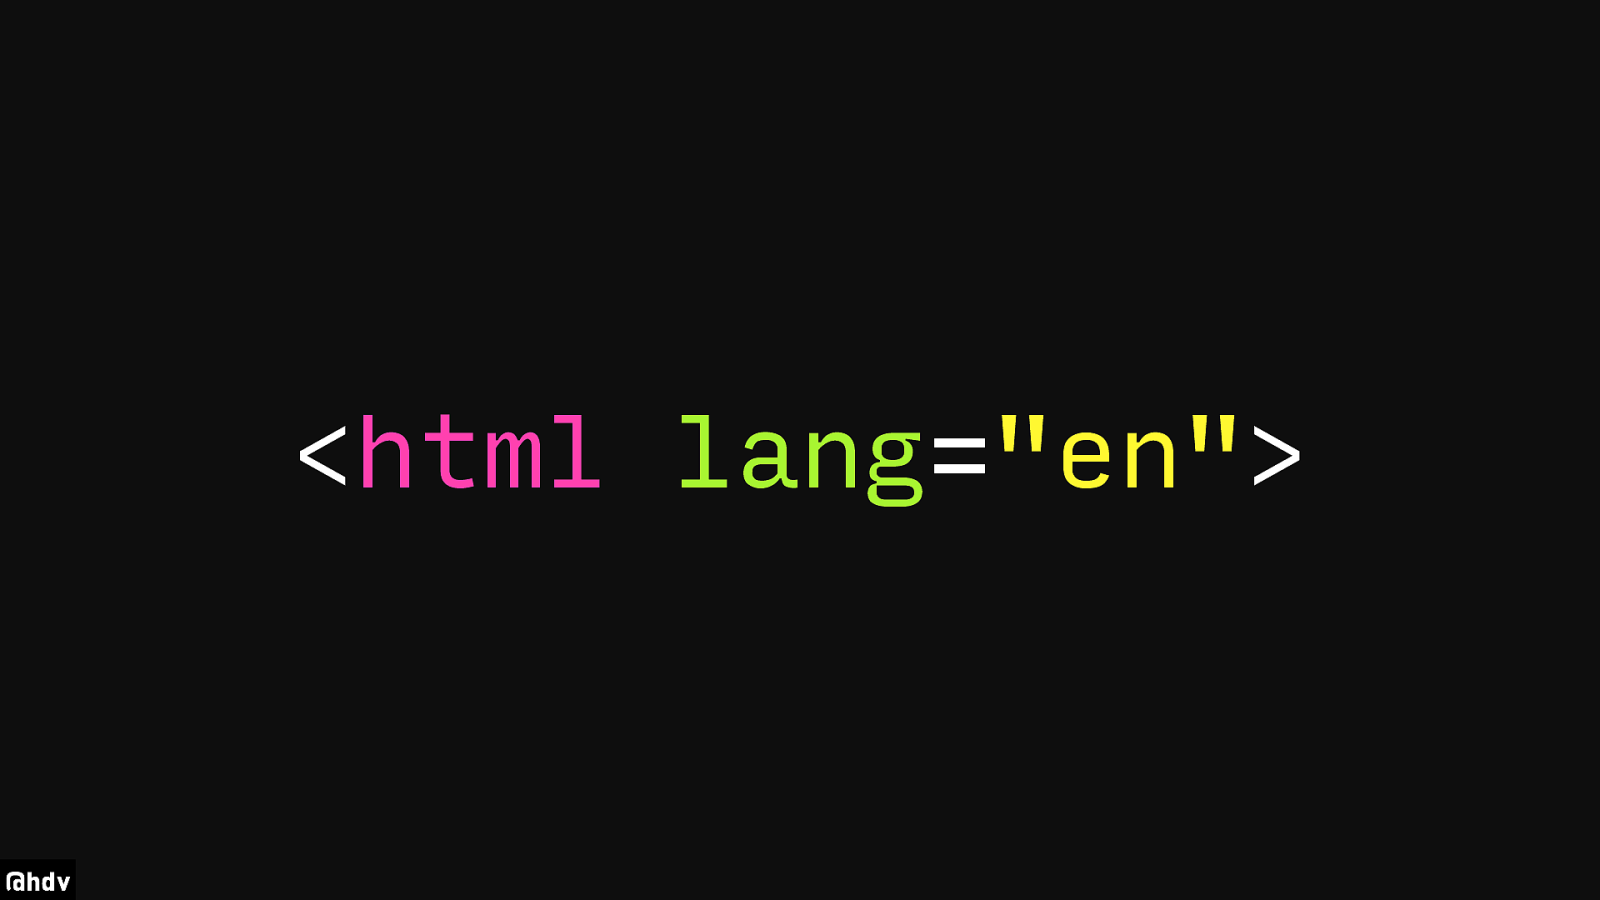
It is to specify language. Jules already mentioned it this morning. Set a language for the document, so that search engines but also assistive tech know what the language is. This works not just on the document, but also on individual elements.
Slide 42
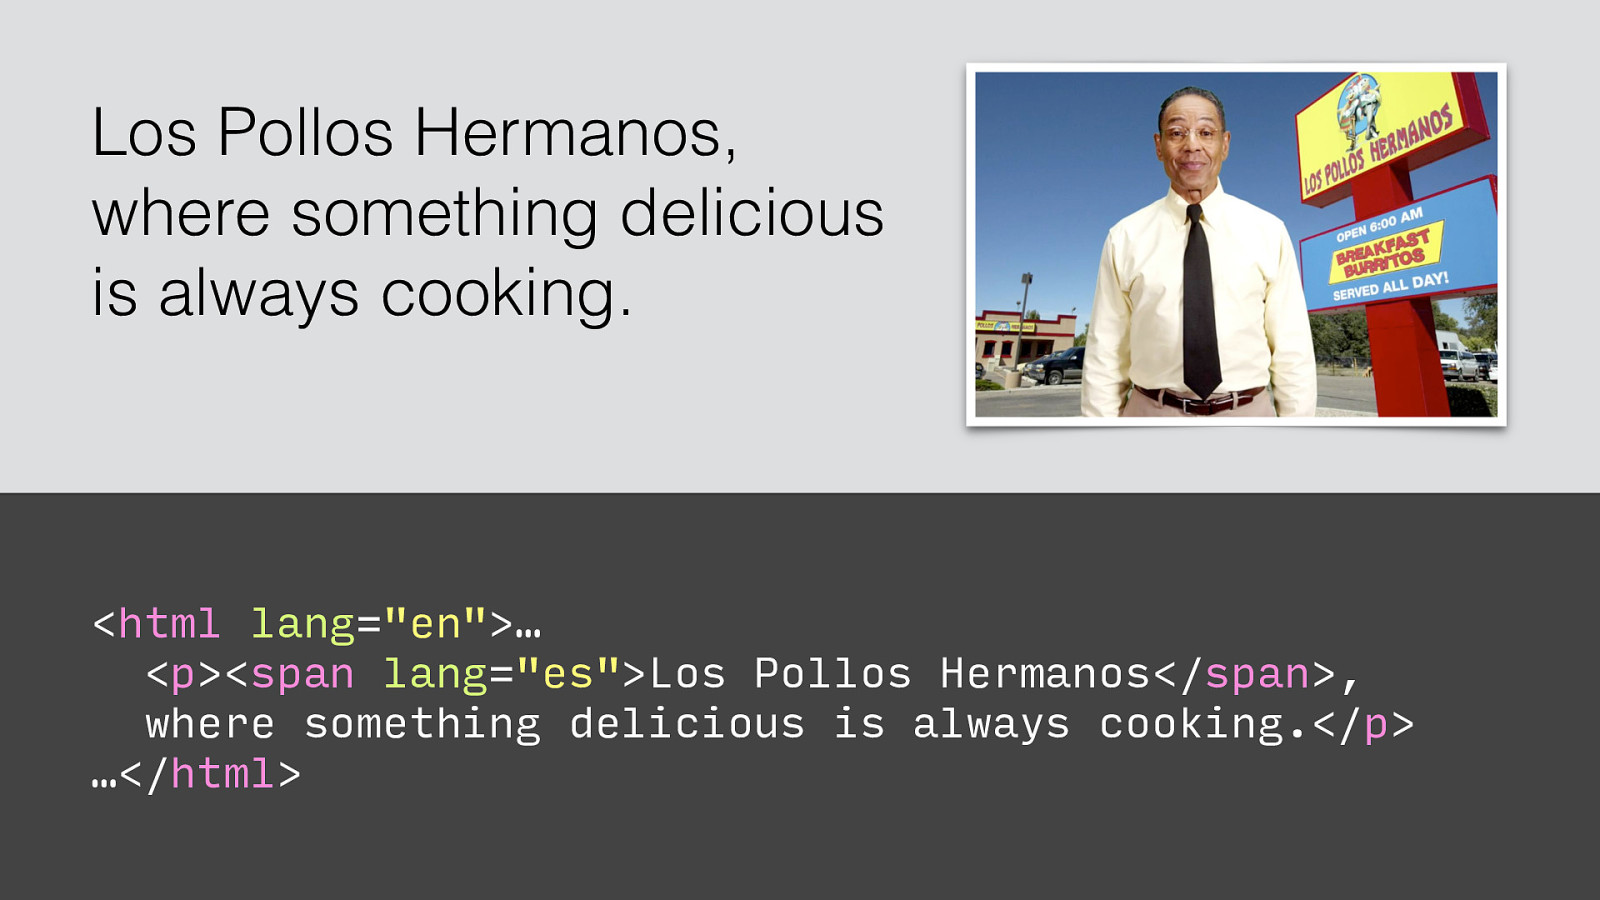
For example if you have a couple of words or a whole paragraph in a different language, you can set a lang attribute locally.
Slide 43
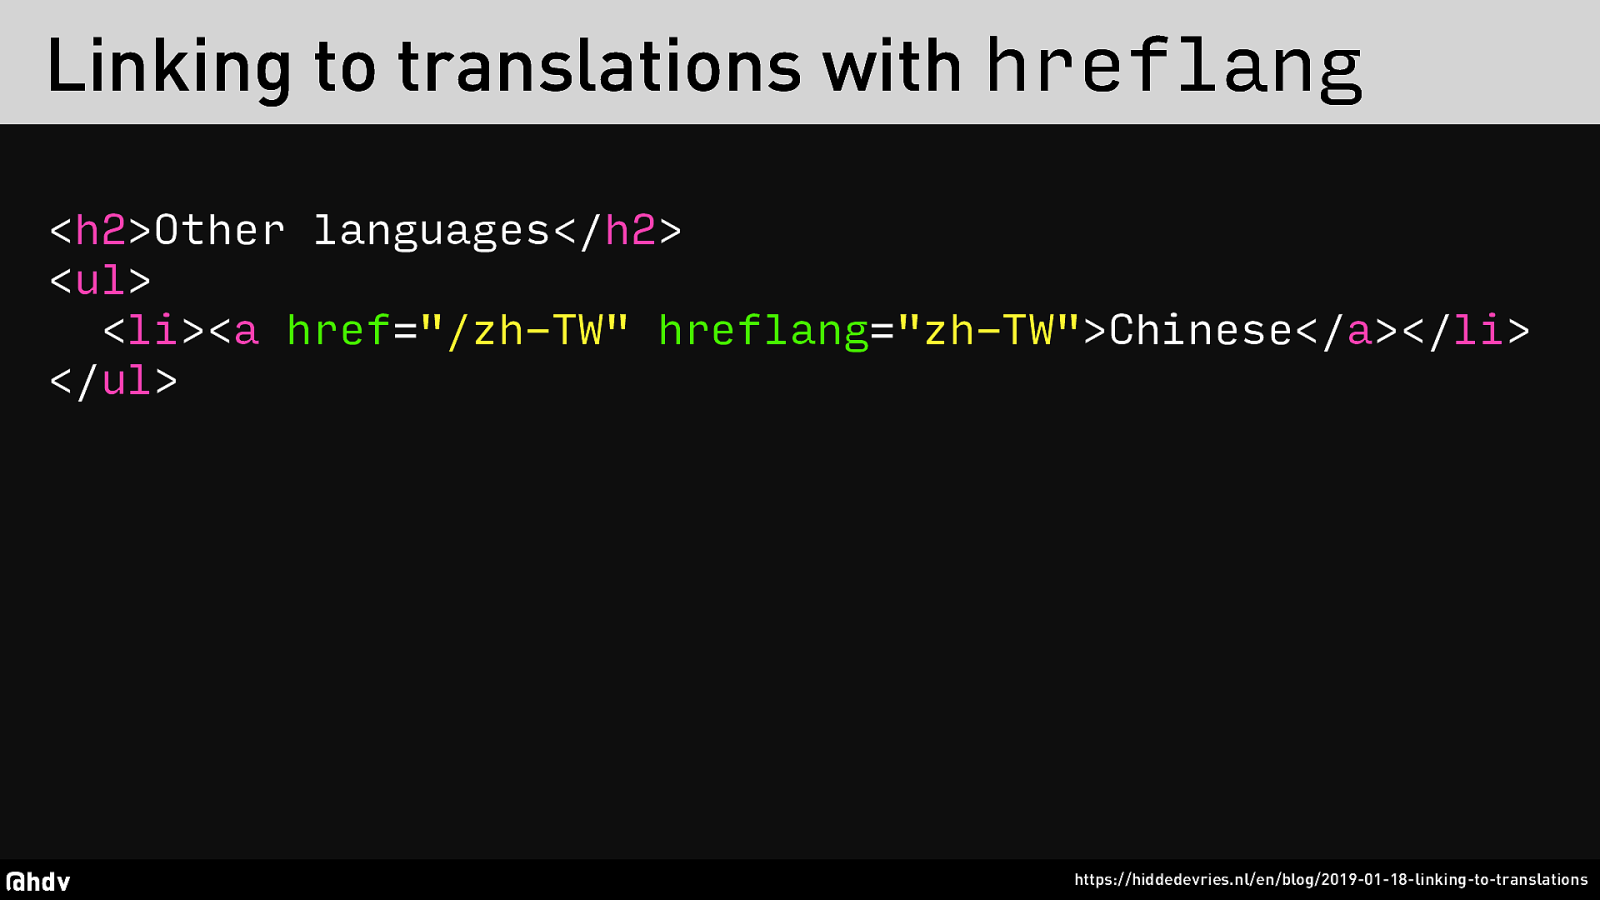
An attribute I only learned about recently is the hreflang attribute. It lets you specify the language of the destination of a link. So if you’re linking to a translation, specify what language that page is in.
Slide 44
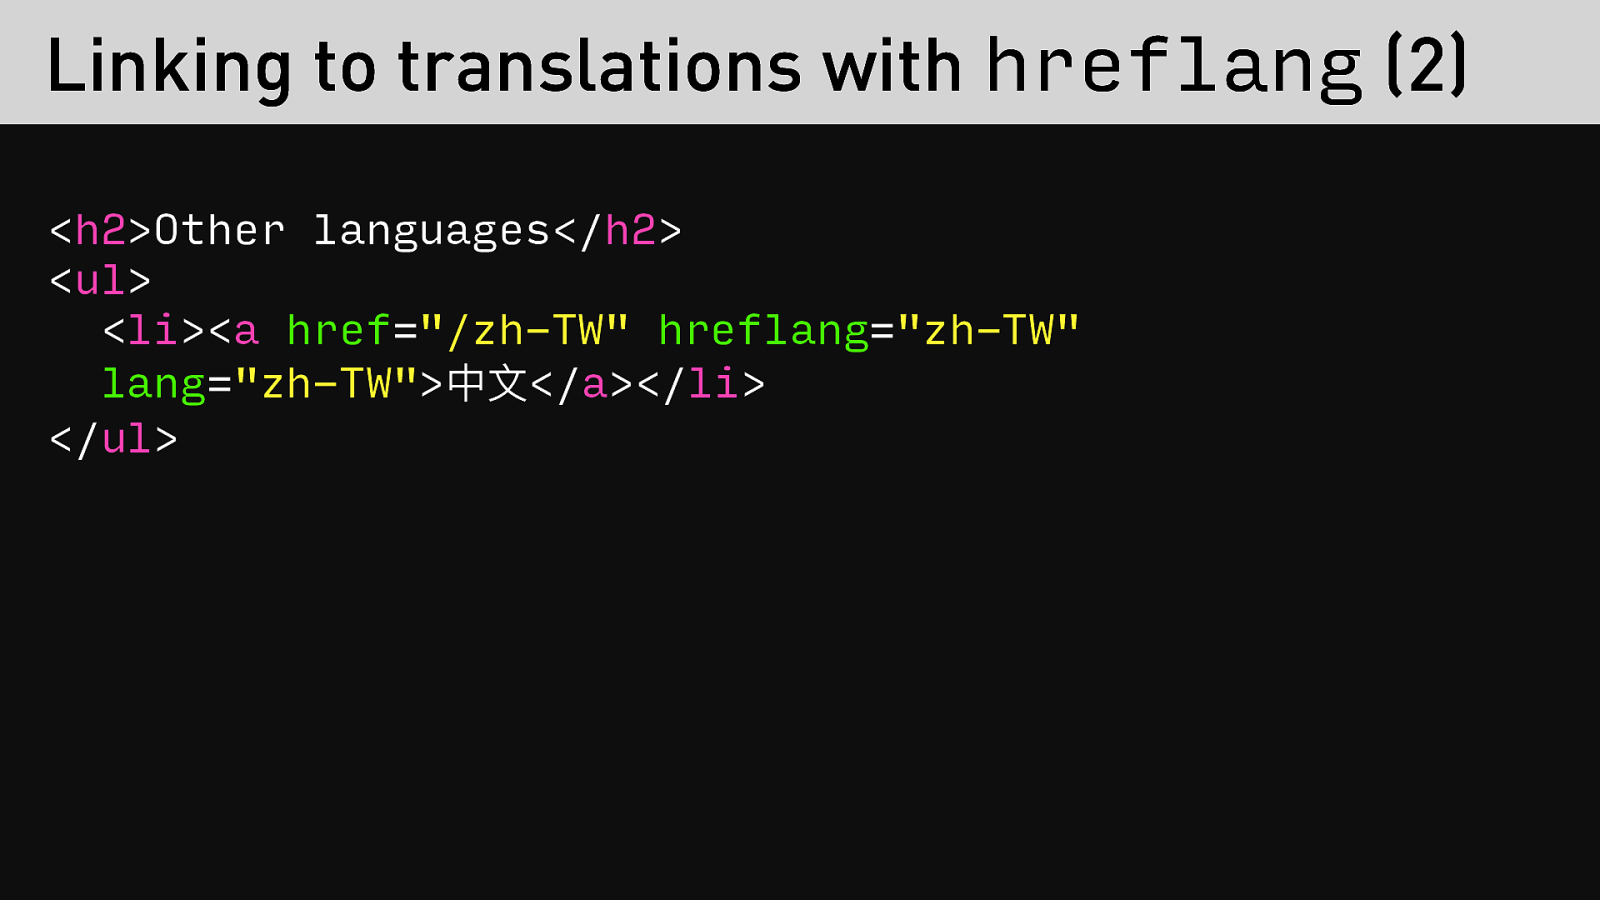
And of course you can also combine this with a lang attribute, if your link text is also in a different language itself.
Slide 45
The firth point is on text alternatives.
Slide 46
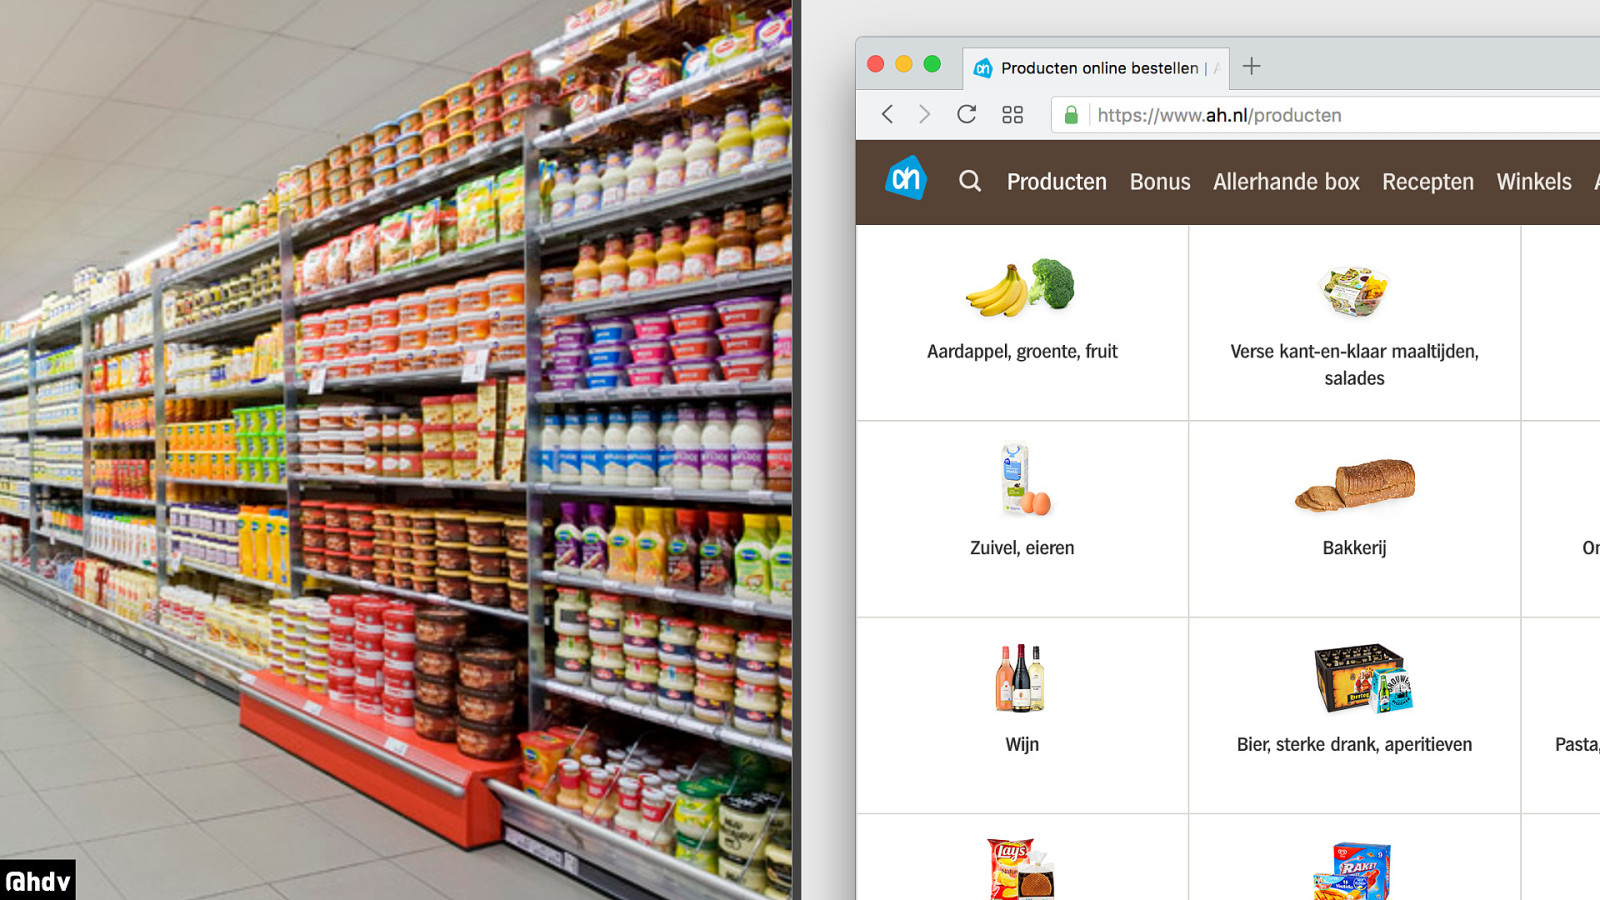
A friend of mine, who is blind, told me that when she goes to a supermarket, she needs to bring her partner or ask a member of staff in order to find products, discover prices, figure out ingredients, et cetera. Using the website of her supermarket, she can just access everything herself and do her own shopping. This is awesome, truly inspiring, and a big reason that this works is this:
Slide 47
The web is mostly text
Slide 48
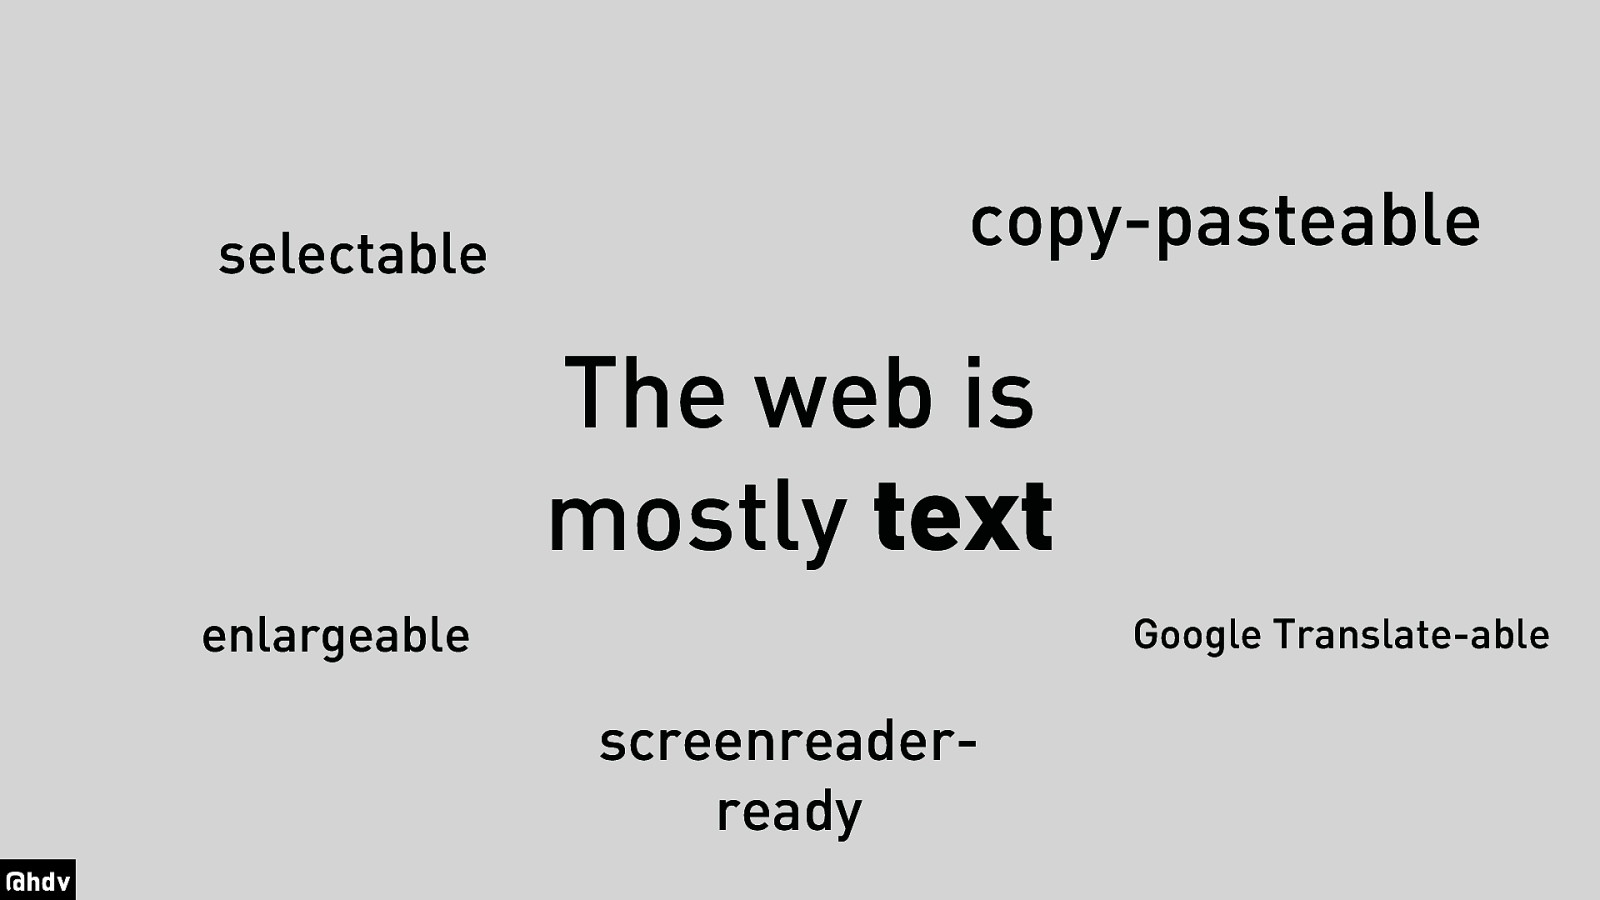
Text is awesome, because you can select it, copy paste is, make it larger, throw it into Google Translate, et cetera et cetera.
Slide 49
My point is: text lets us have accessibility automatically.
Slide 50
So it’s up to use to make sure that we have text, or at least alternatives for text.
Slide 51
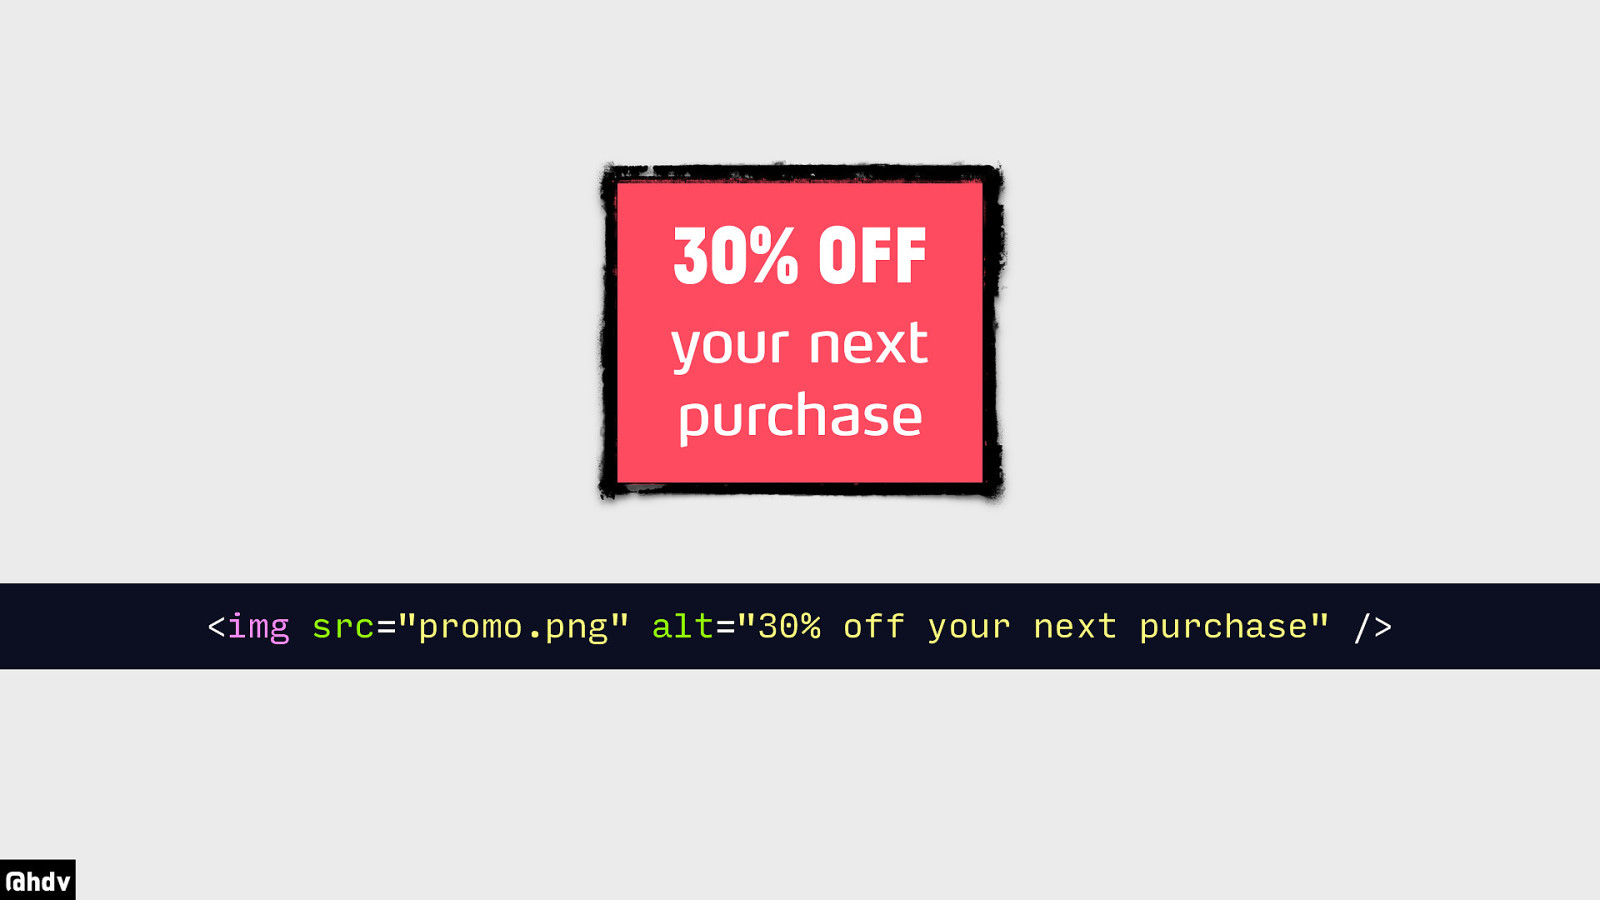
We probably all know about ALT attributes for images. For example this image says 30% OFF your next purchase, so ensure that this text is reflected in the ALT.
Code: <img src=”promo.png” alt=”30% off your next purchase” />
Slide 52
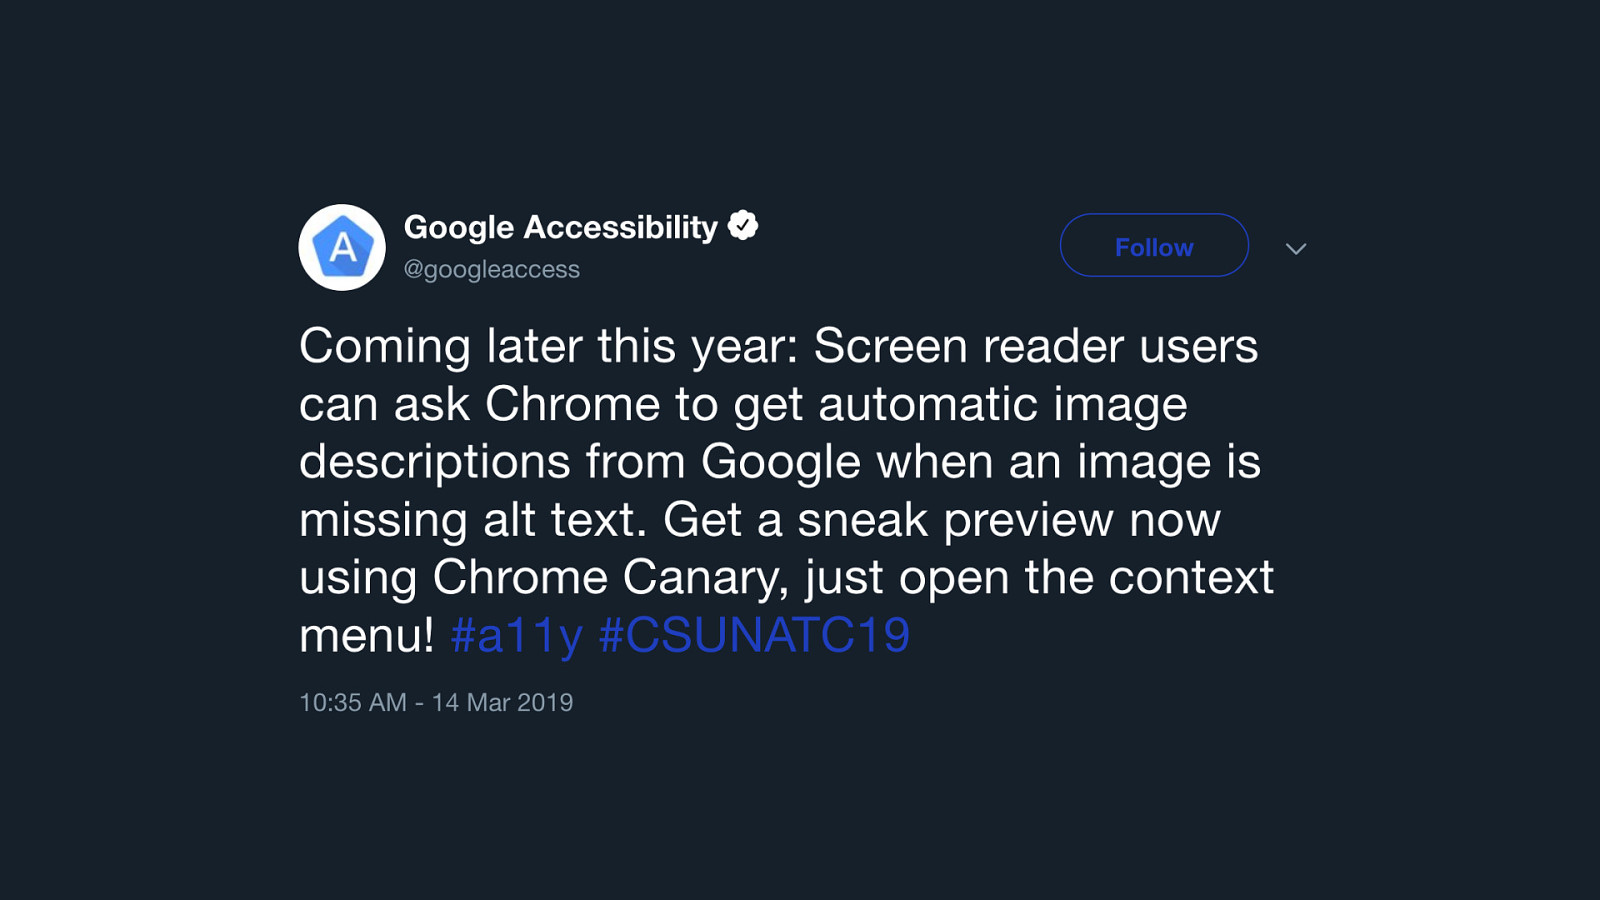
Some of you may think… with the rise of AI and machine learning, can’t alt attributes be generated automatically? Yes they can! But that isn’t necessarily good. One: modern screenreaders aren’t near having these kinds of capabilities. Google and Microsoft are investing in AI for accessibility, and Google announced at CSUN they will have a feature in Chrome that will let you get missing alt texts. But what about the privacy implications?
Slide 53
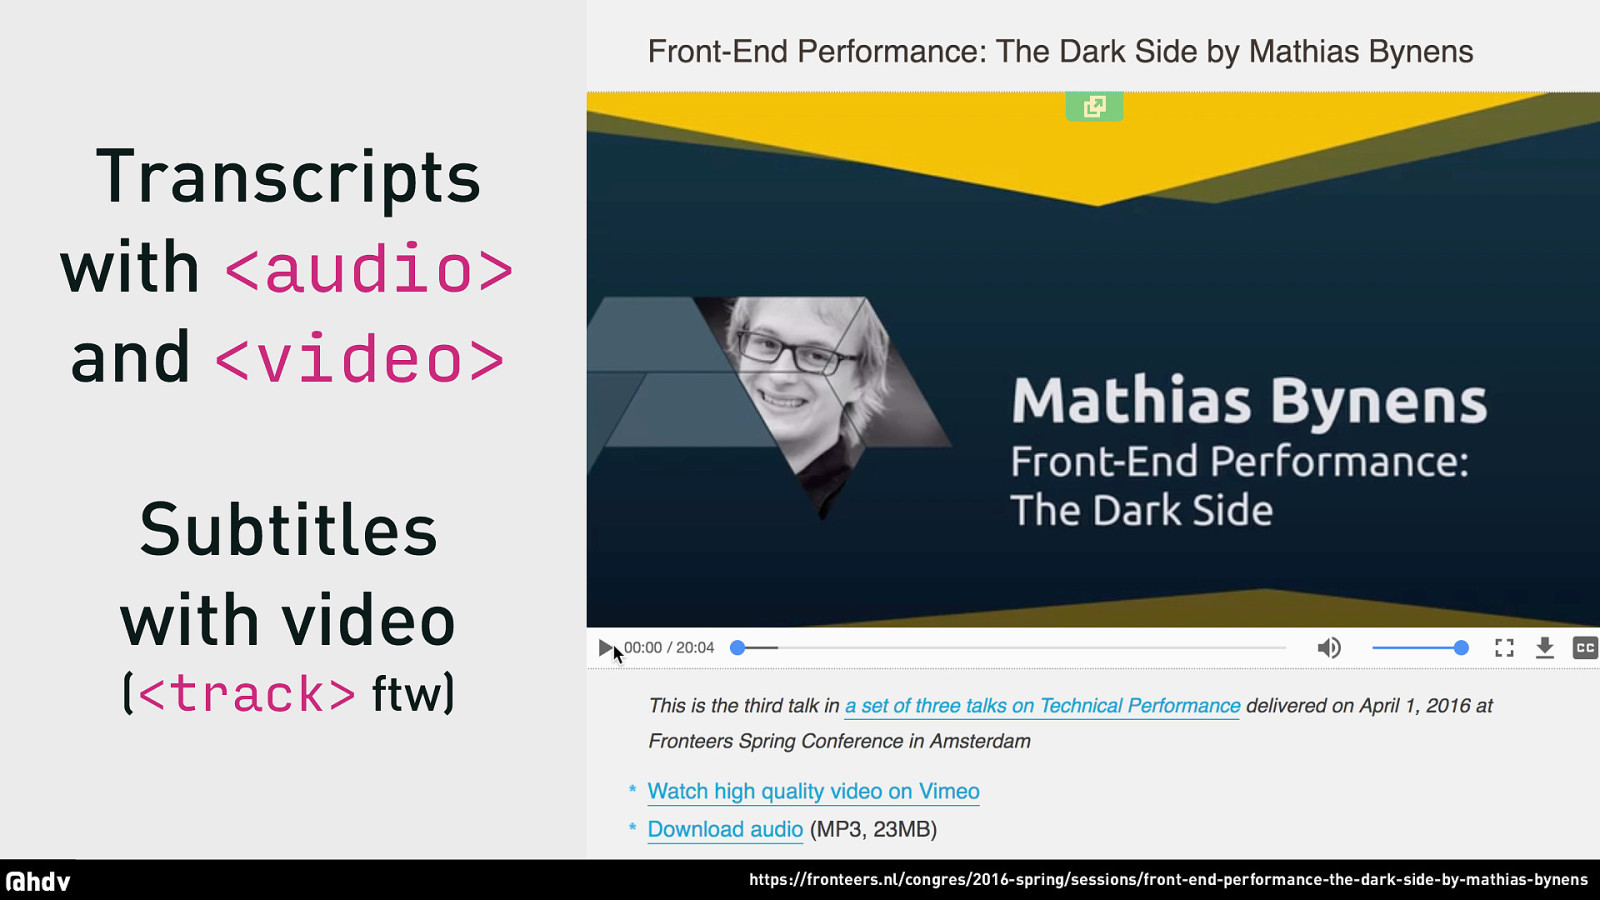
With audio and video, you can and should also provide alternative texts. See for example this page we have on the Fronteers website, where under the video there’s a full transcript available, which you can even click to get to this part of the video. This works because the video element has a JavaScript API so that you can jump the video to a specific point in time. Alt texts for video are srt files.
Slide 54
My last tip for you today is to test with a keyboard.
Slide 55
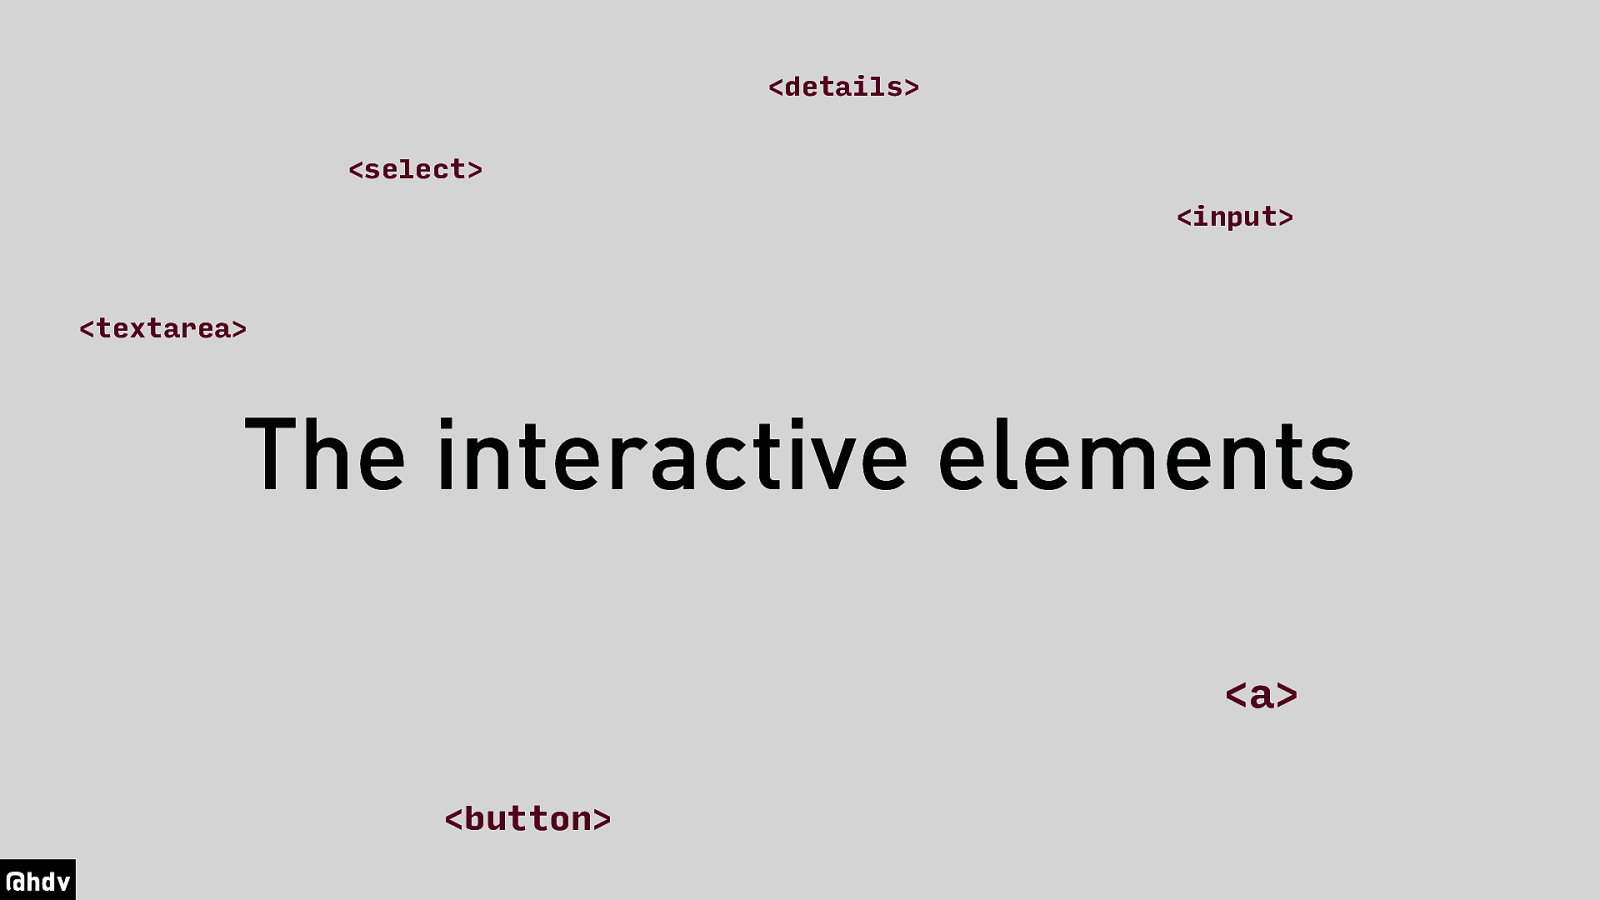
Keyboard usage is something that happens between what we call ‘the interactive elements’. Keyboard users don’t tab between individual letters, words or sentences, it happens between the things that they can interact with: links, buttons, form fields, and also the new details element in HTML.
Slide 56
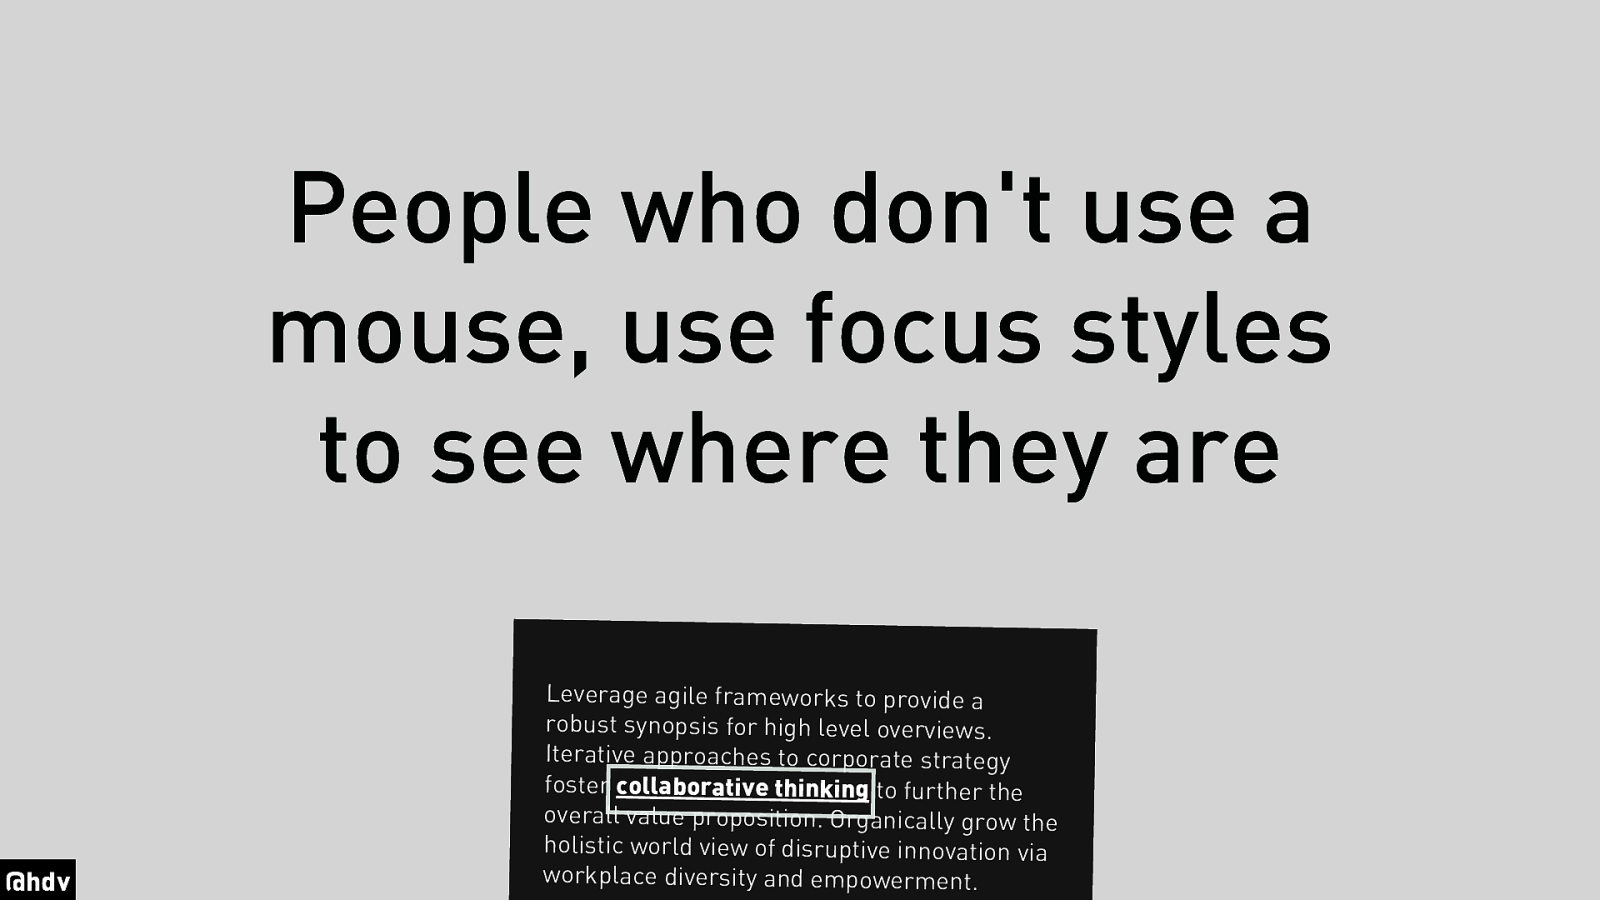
People who don’t use a mouse, use focus styles to see where they are.
Slide 57

When there’s a bit of text with two links of it, the way to know which link you’re about to click is to look at where your mouse pointer is: the link that it is hovering above is the one you’re about to click.
Slide 58
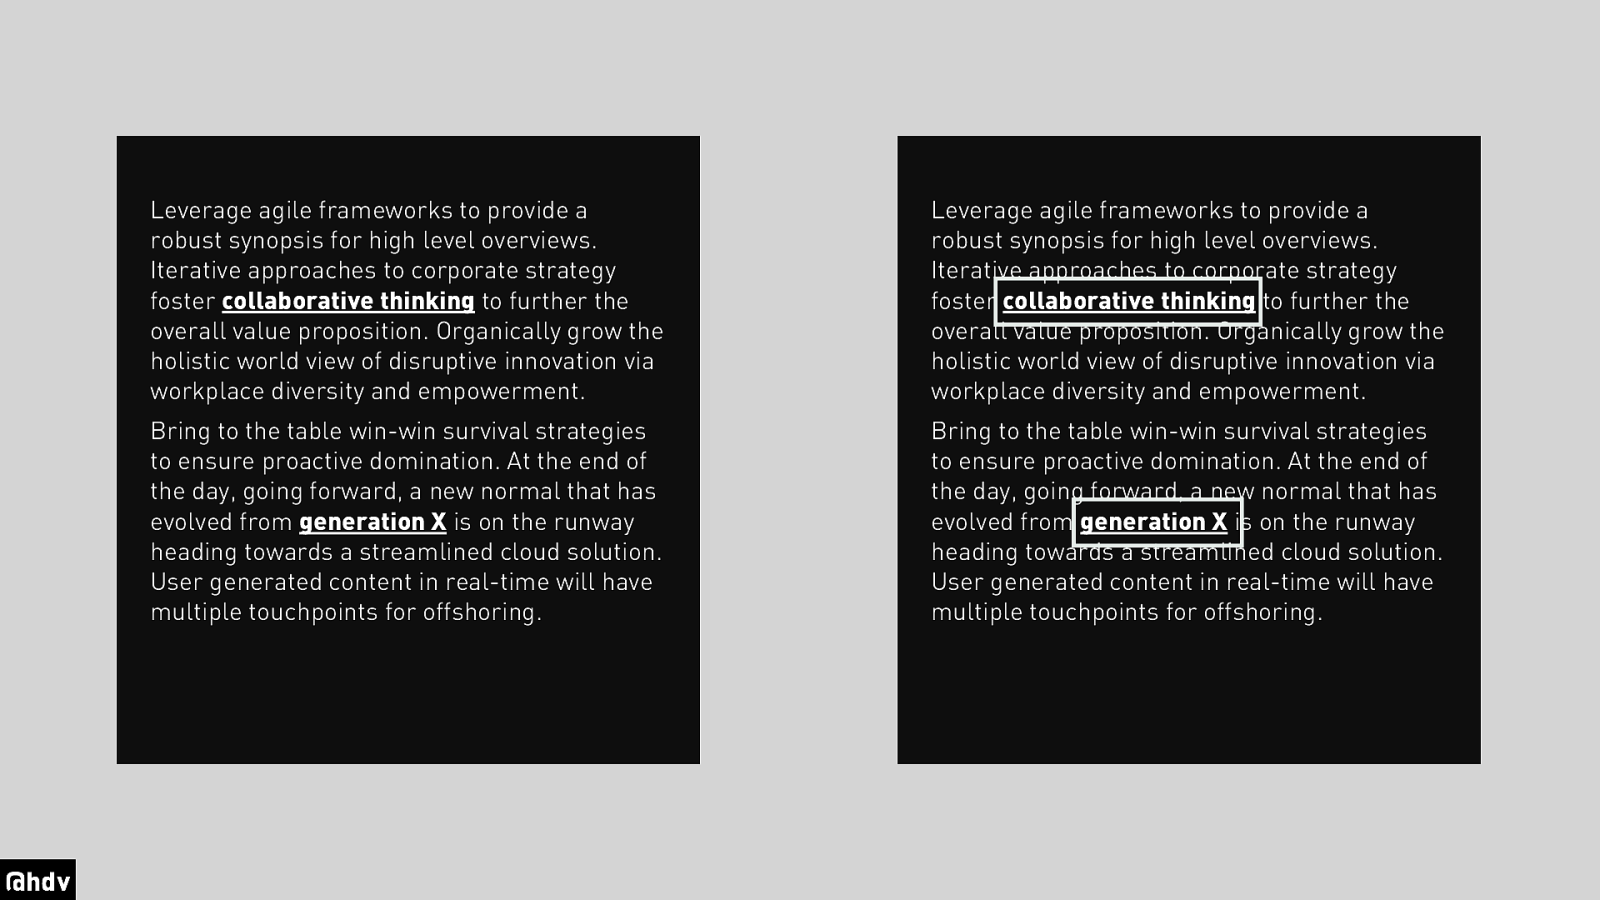
That requires a mouse and for people who don’t have a mouse, an alternative is needed. This is where focus styles come in, they show where the keyboard currently is, so that people know which element they’re about to click. This is great.
Slide 59

Some people say that focus styles are ugly. So are streetlights, but they are extremely helpful when I walk home in the dark, as they let me see where I am. Focus styles do this on the web for keyboard users.
Slide 60
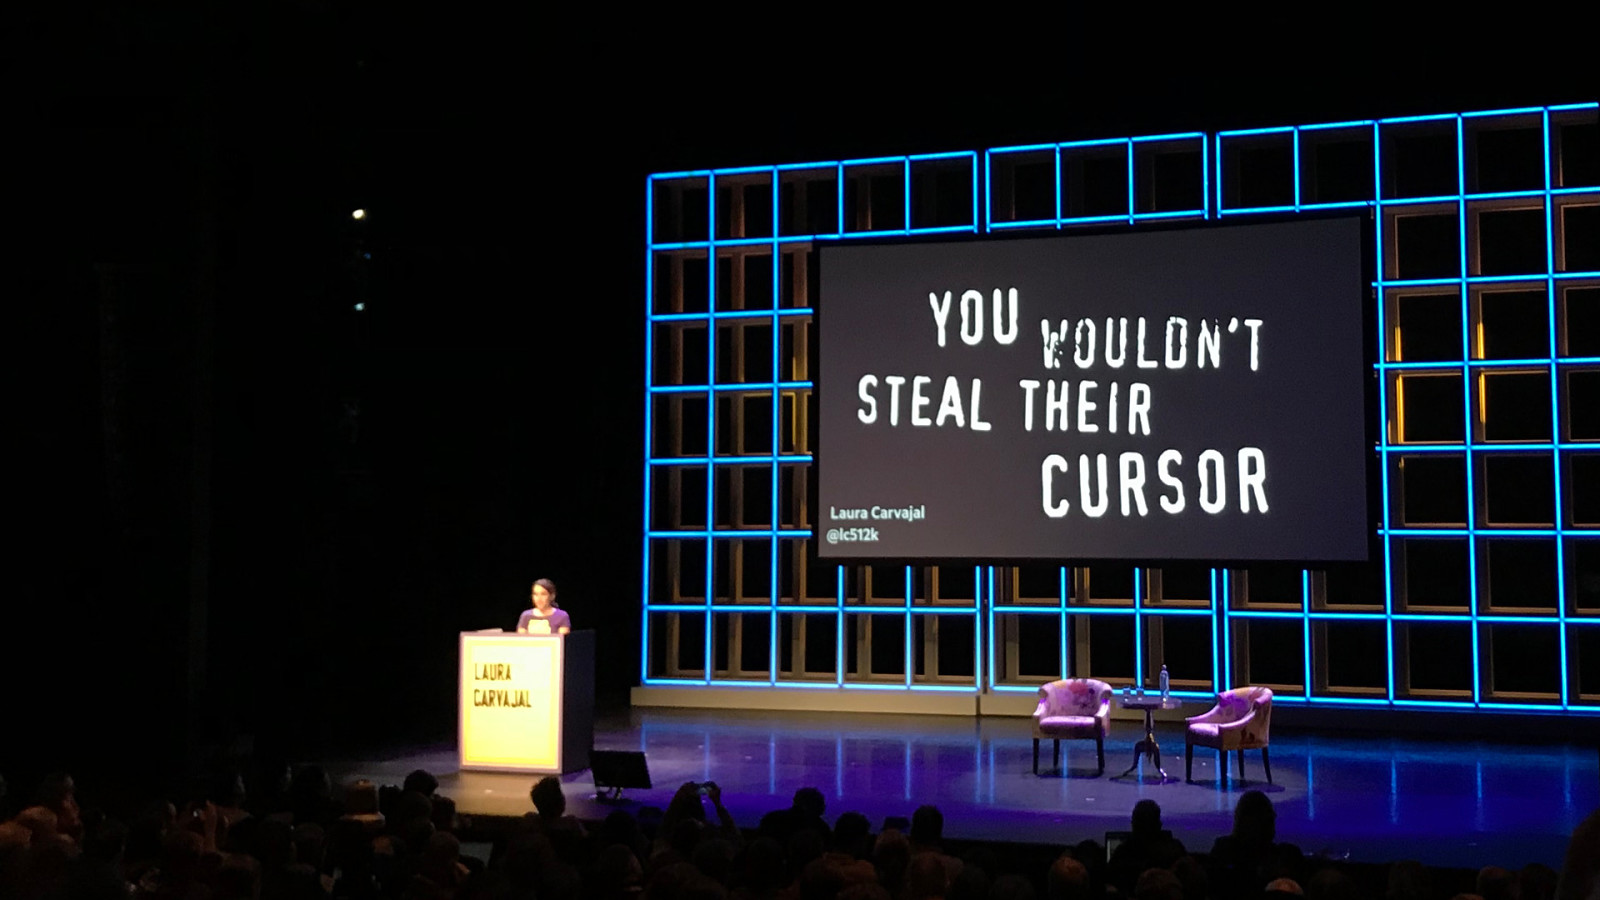
As Laura Carvajal beautifully said at Fronteers Conference last year: you wouldn’t steal their cursor! And you totally can, with cursor:none in CSS you can turn off the cursor for any element in HTML. But wouldn’t you agree that is a terrible thing to do? It takes away an affordance that people rely on. Just like outline:none does, so this is really important to avoid and remove from any stylesheet you may have in your project.
Slide 61
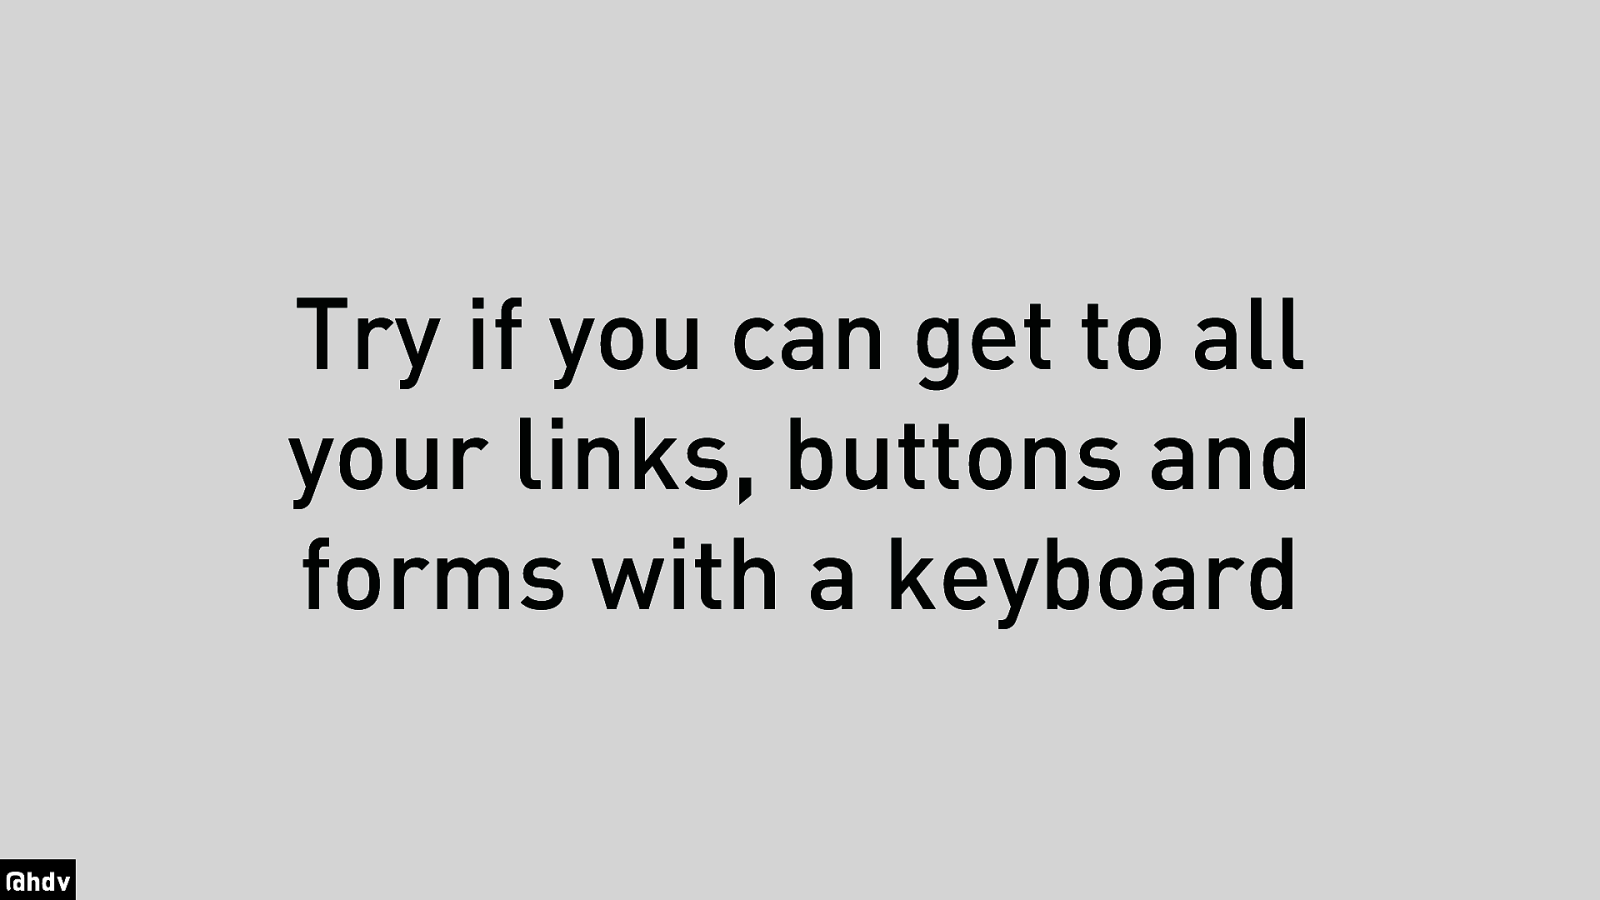
So the main tip here, to summarise: try if you can get to all your links, buttons and forms with a keyboard. If that works, you’ve come a long way in making your site work for users who use keyboards or other input methods.
Slide 62

In summary, my six tips: name things so that they show up right in the accessibility tree and people with Assistive Technologies are able to distinguish between them; write good markup and check the spec if you’re not sure; have a good structure that even works without CSS; declare languages; provide text alternatives for images, audio and video, and make your site usable with a keyboard.
Slide 63
Thanks for listening! For any questions, feel free to email hidde@w3.org, tweet @hdv or find these slides on Notist https://talks.hiddedevries.nl